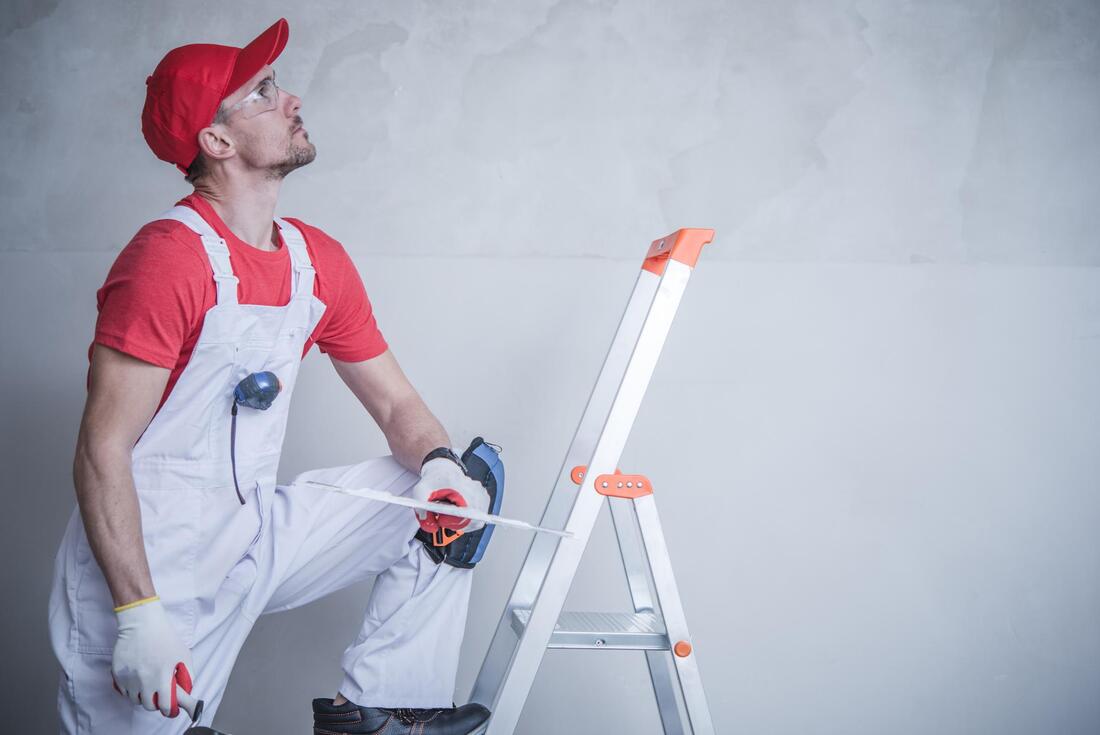
Expert Techniques for Achieving a Smooth Drywall Finish
Master Hanging, Taping & Bedding Sheetrock for a Perfect Finish
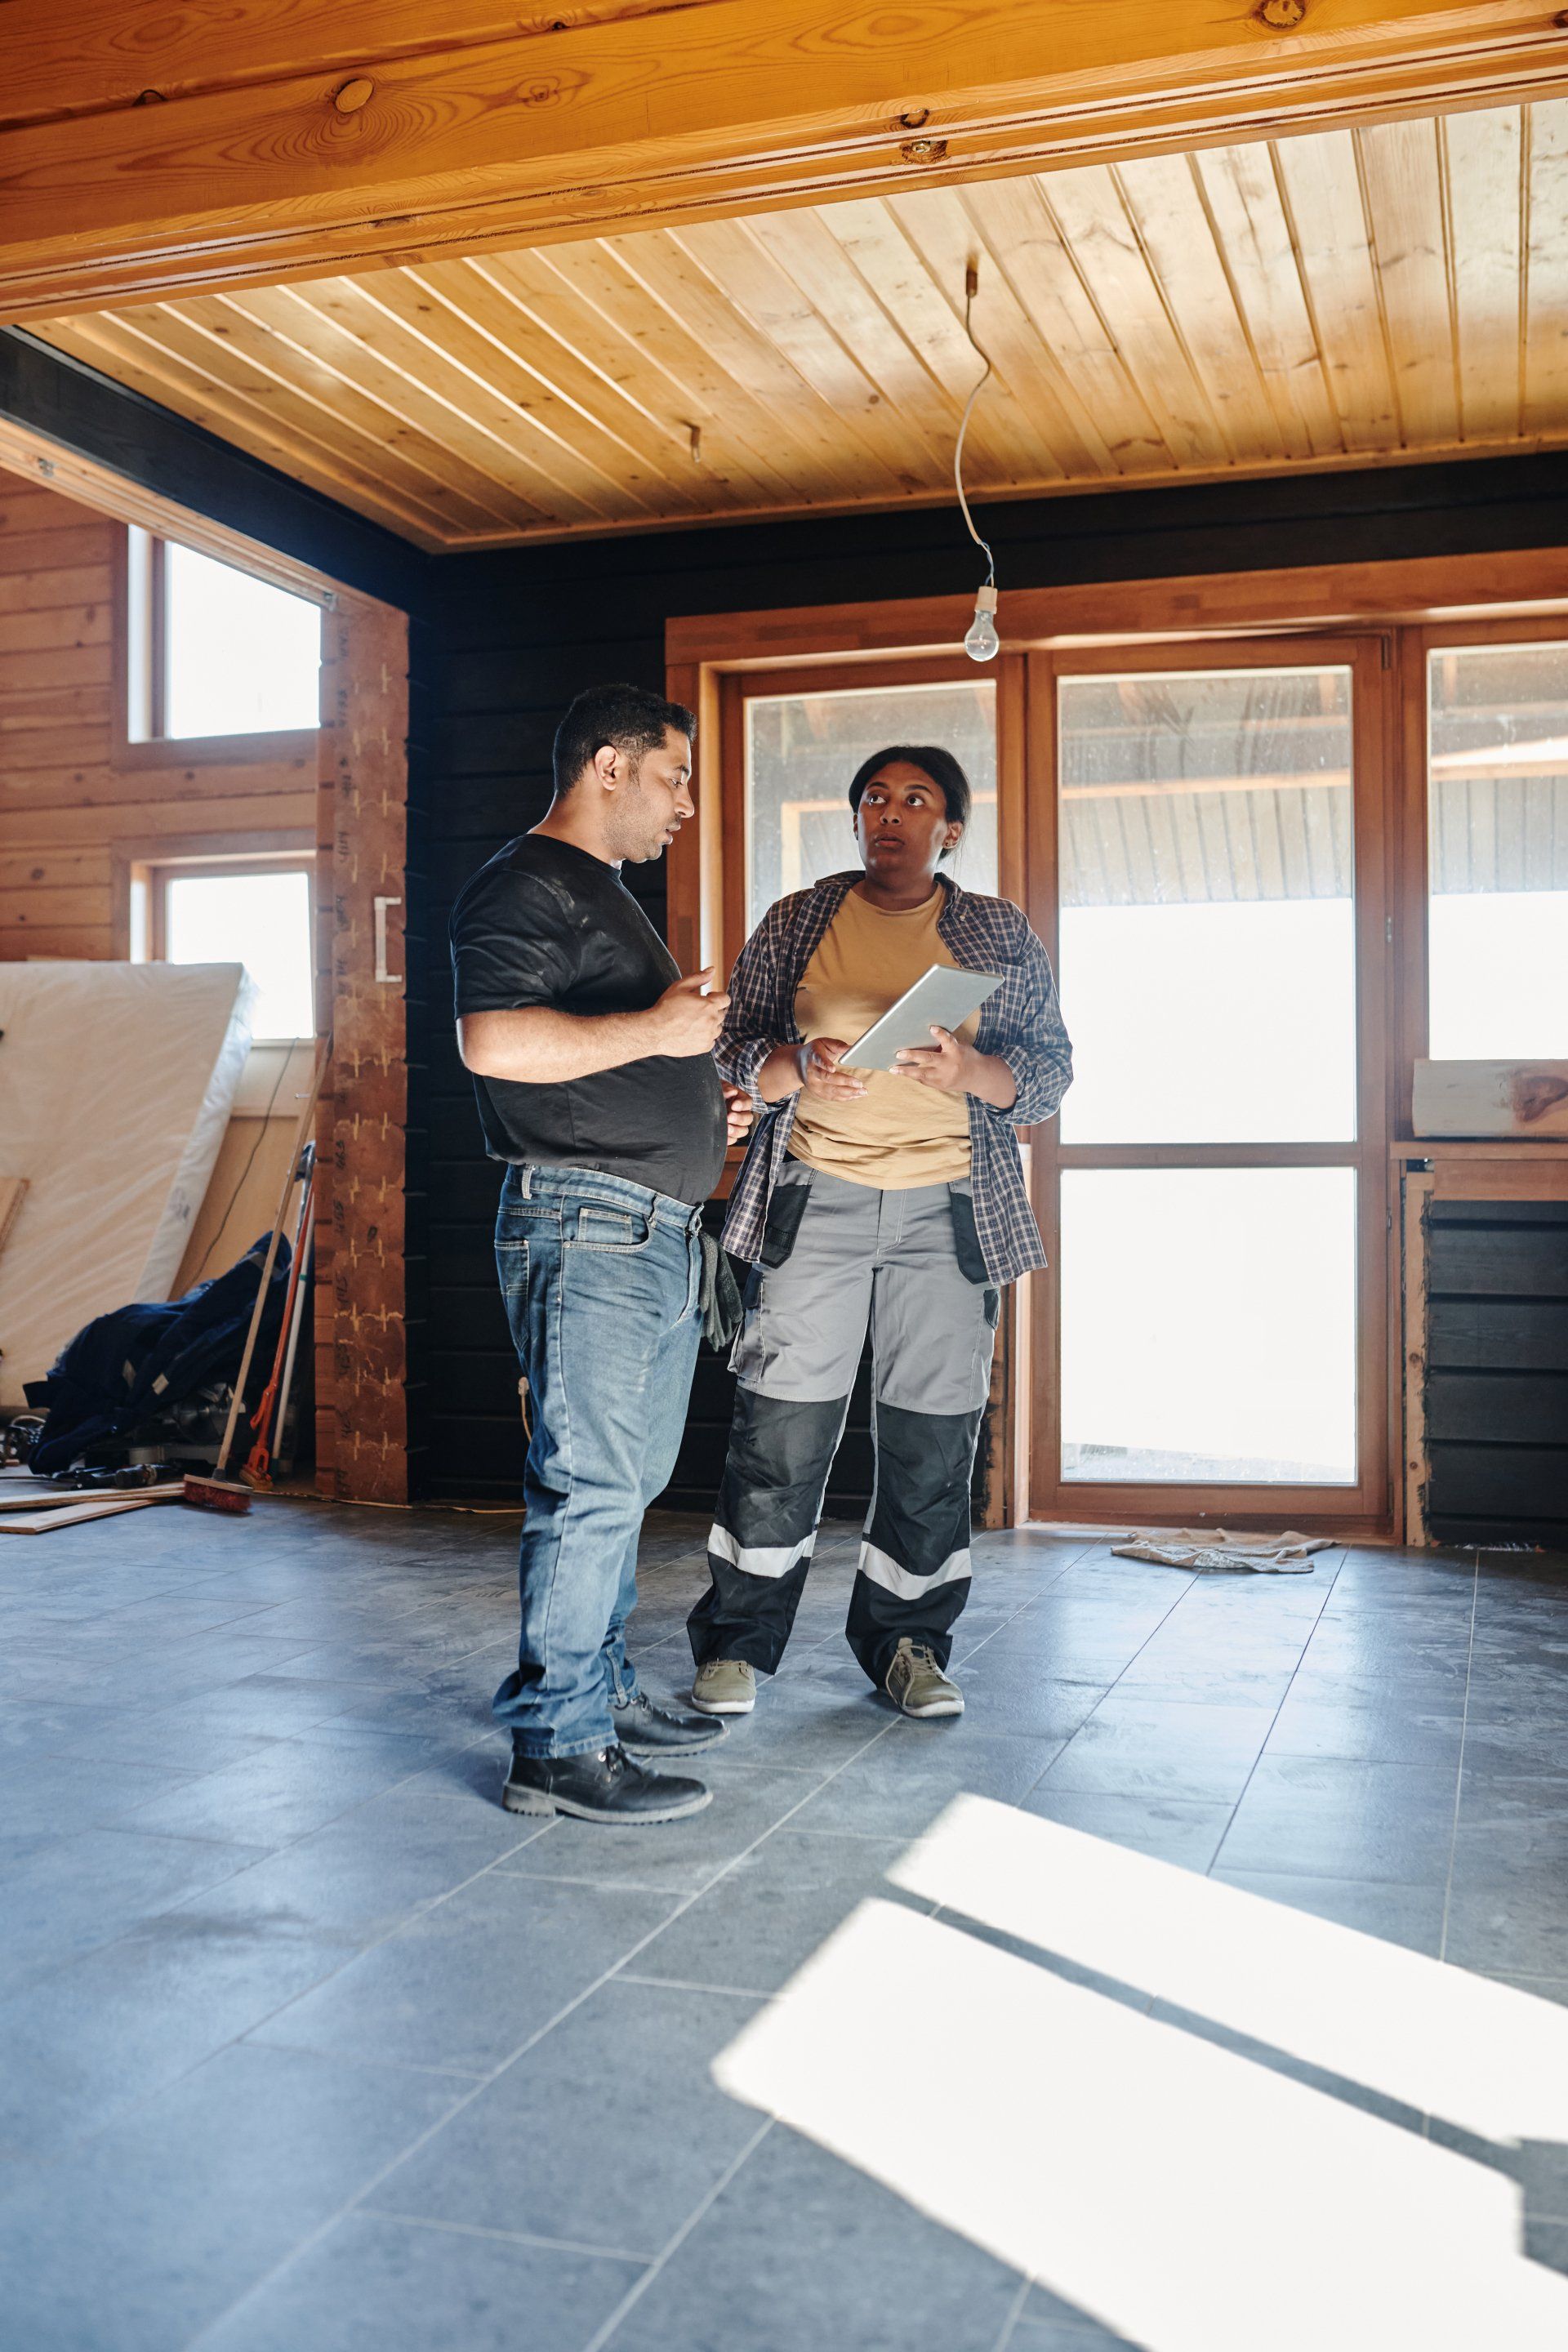
Drywall installation is an art that requires careful attention to detail and the right techniques to achieve a seamless finish. Whether you are a seasoned professional or a DIY enthusiast, understanding the processes of hanging, taping, and bedding sheetrock can help you create smooth and durable walls.
This guide will walk you through the steps, using expert tips and highlighting essential tools and techniques. By the end of this article, you'll be well-equipped to take on your next drywall project and achieve flawless results.
Preparing Your Space: Framing for a Strong Foundation
A smooth drywall finish begins long before the sheetrock is hung; it starts with a well-framed structure. Proper framing ensures that your walls are straight and sturdy, laying the foundation for the entire project. Without strong framing, you could face problems down the road, like uneven surfaces or cracks.
Why Proper Framing is Crucial for a Flawless Finish
Drywall contractors near me emphasize the importance of precise framing. Ensuring that all studs are straight and evenly spaced is critical because even minor misalignments can lead to imperfections when you install the drywall. If you're in Sacramento, drywall contractors Sacramento can help with this foundational step, but for those taking the DIY route, a laser level and framing square are essential tools.
Ensuring Straight and Solid Walls for Drywall Installation
To achieve professional-grade results, check that all studs are spaced 16 inches apart (on-center) and that any protruding nails or screws are removed or hammered in flush. This attention to detail will prevent bumps under the drywall sheets and help you achieve a smooth drywall finishing process later on.
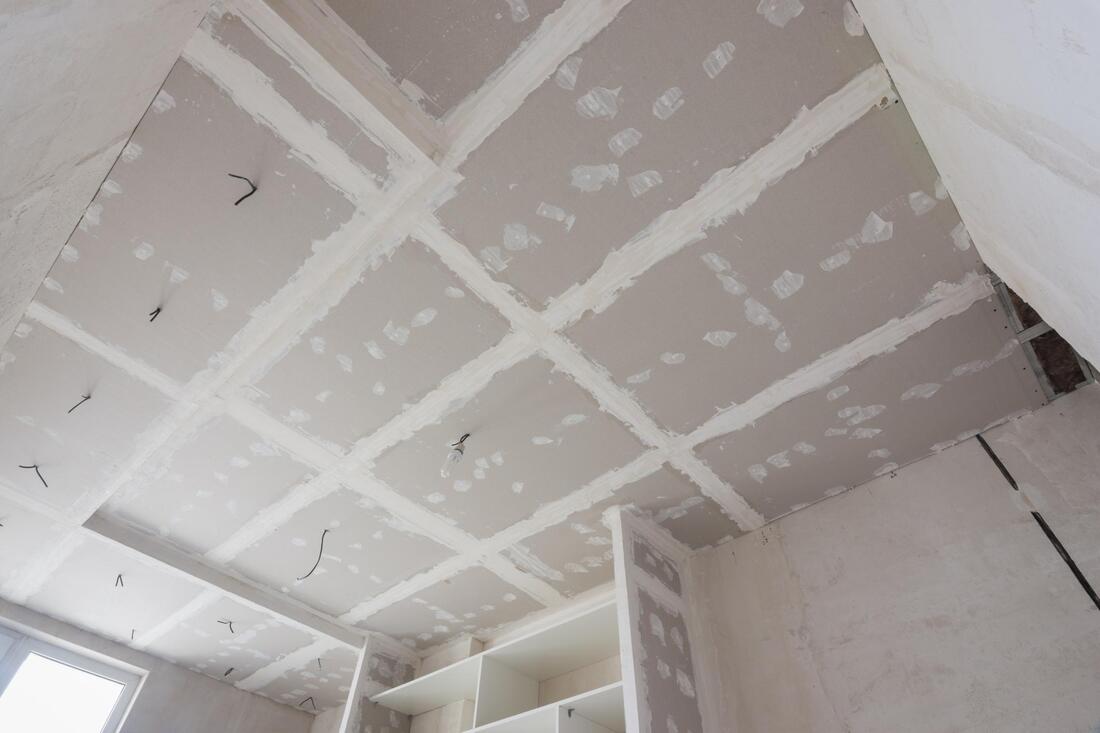
Precision in Hanging Drywall: The First Step to a Perfect Finish
Once the framing is set, the next step is hanging the drywall itself. This stage requires precision to ensure that the drywall sheets are aligned properly and securely attached to the framing.
Key Tools for Accurate Hanging
Drywall contractor near me recommends using essential tools like a drywall lift, T-square, and drywall screws or nails. A drywall lift can be particularly useful when working alone or hanging drywall on ceilings.
Techniques for Seamless and Secure Drywall Placement
Start by measuring and cutting the drywall sheets to fit each wall segment. When cutting sheetrock, make sure the edges are clean and straight, reducing the risk of gaps. Drywall repair Sacramento specialists advise securing the drywall with screws placed every 12 inches along the studs. Be sure to sink each screw just below the surface without tearing the paper to make the taping process smoother.
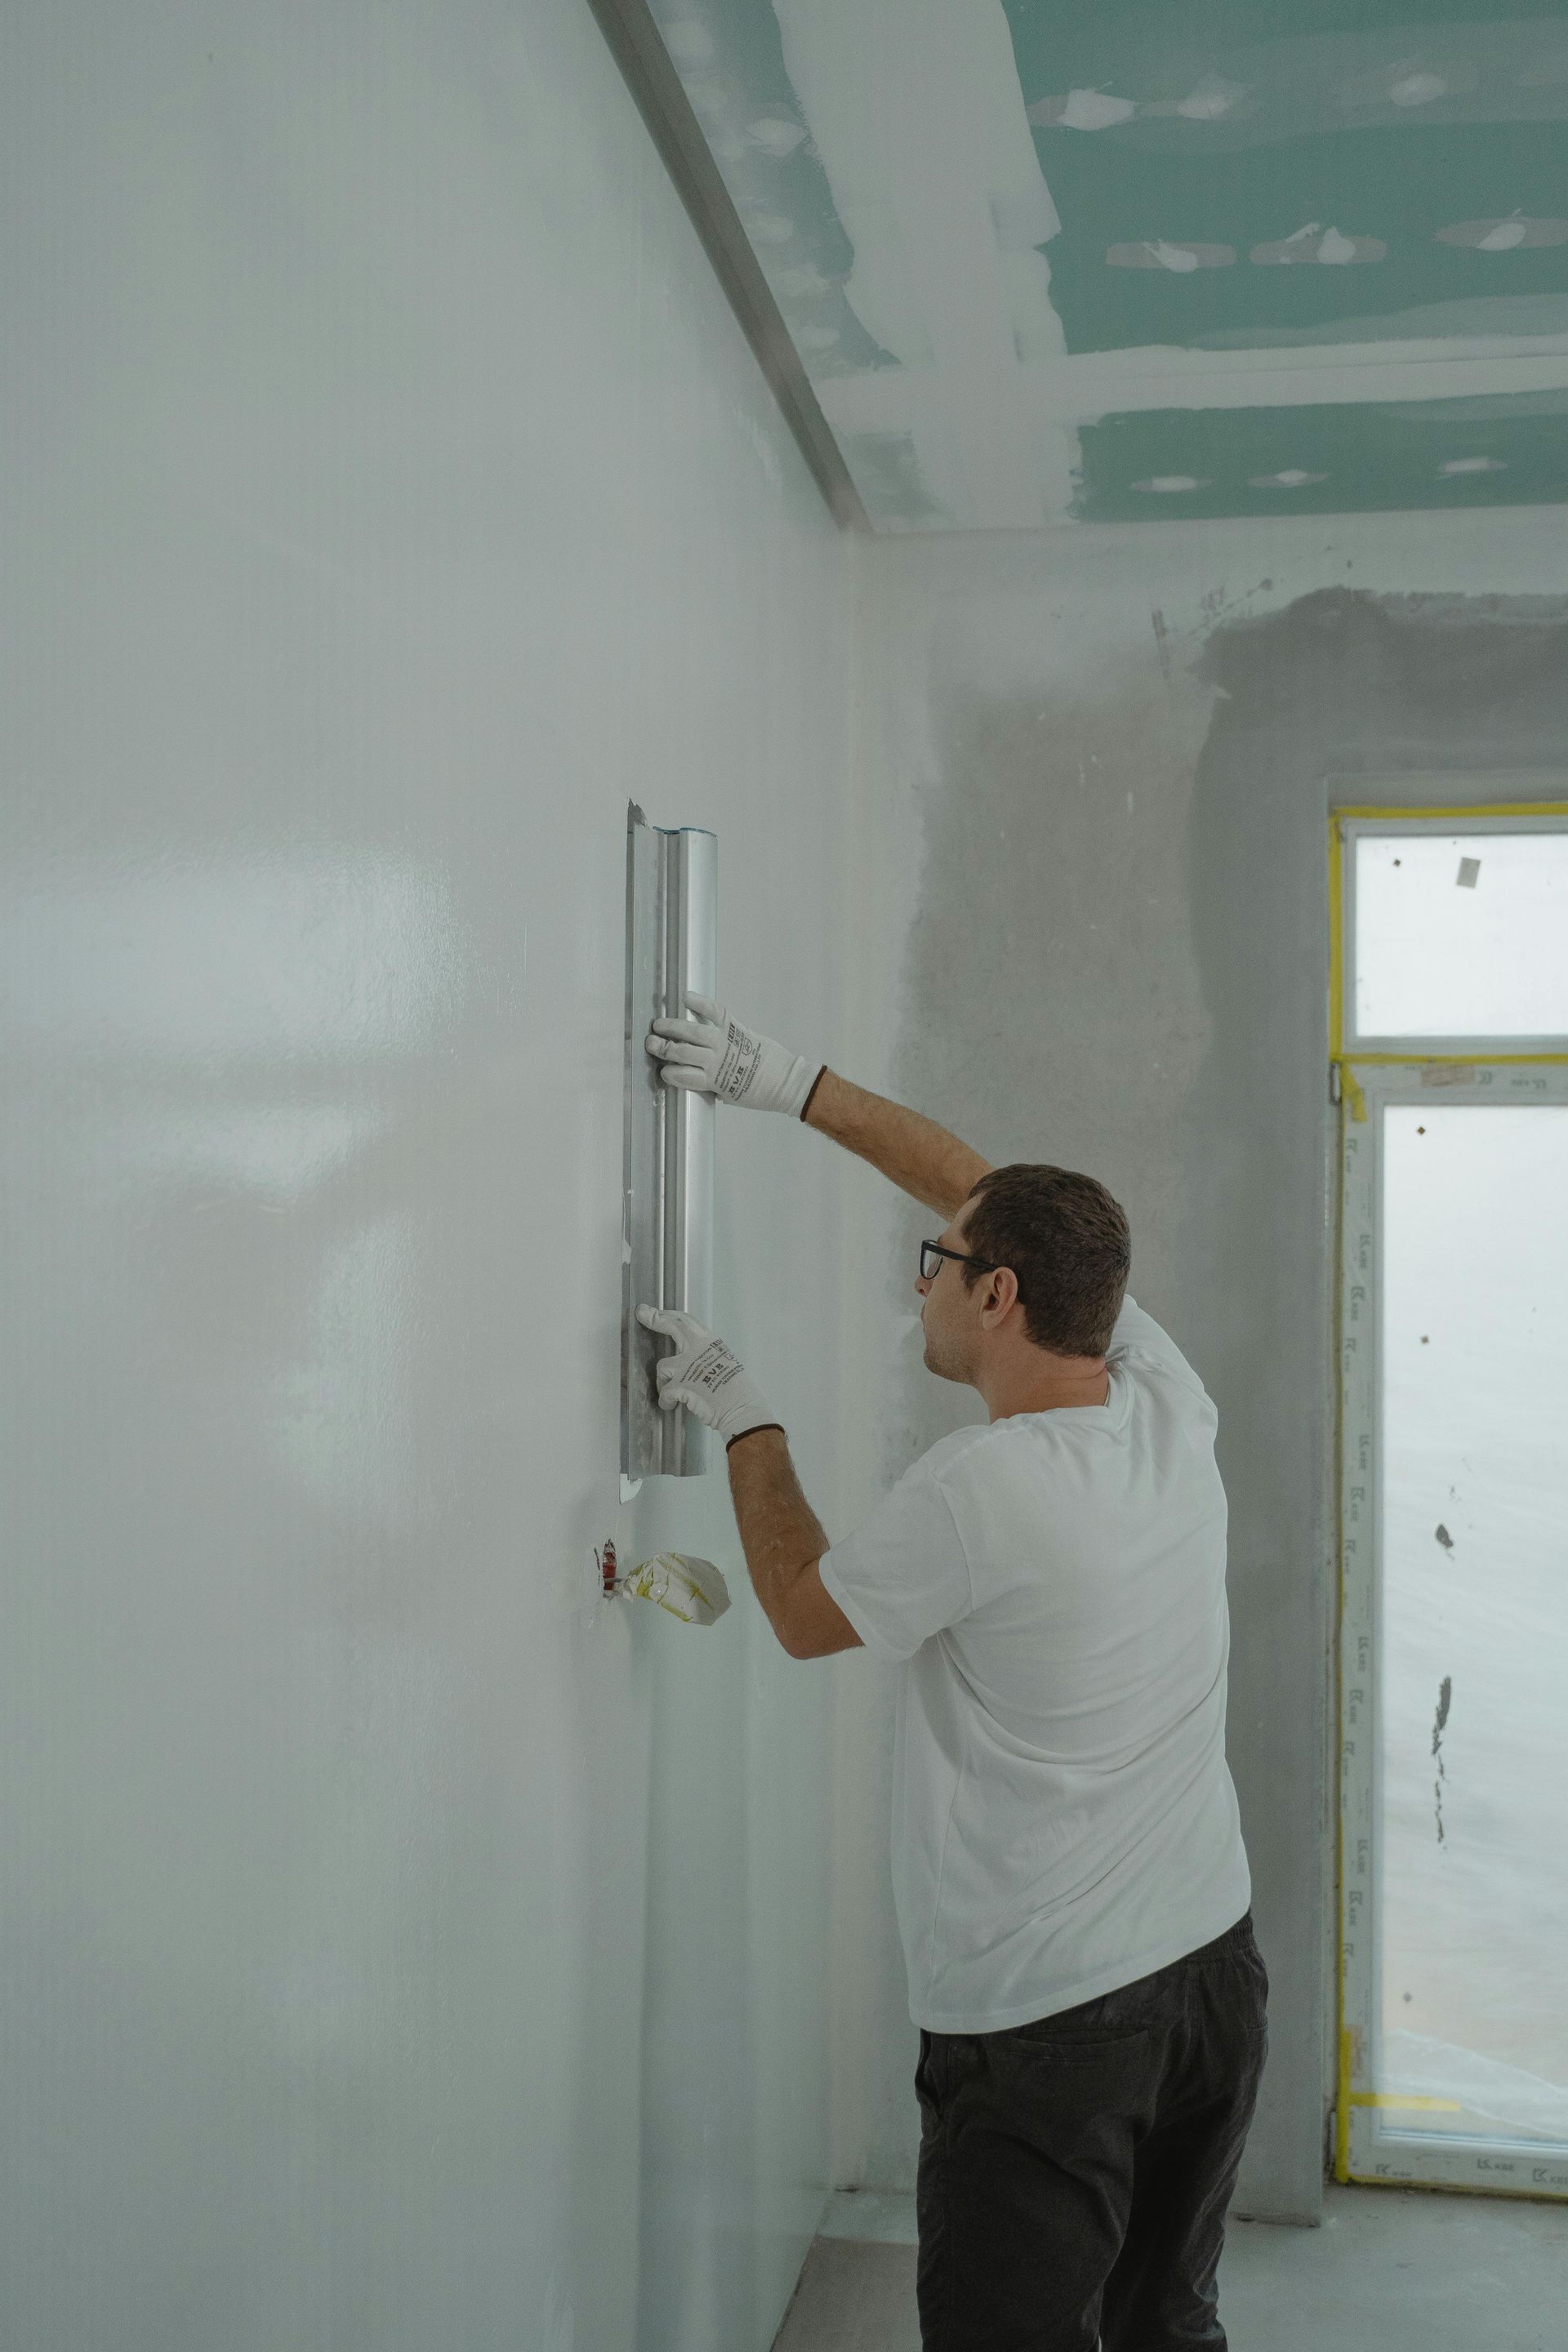
Taping Drywall Joints: Ensuring Seamless Transitions
Taping drywall joints is essential for achieving a smooth, invisible transition between drywall sheets. It covers the seams and prepares the wall for finishing.
Selecting the Right Tape and Joint Compound
You can choose from two types of drywall tape: paper and fiberglass mesh. Paper tape is often recommended for beginners, as it’s easier to handle. Drywall contractors Sacramento and other professionals suggest pairing it with a high-quality joint compound for the best results. Be sure to use the right consistency of compound for the first coat.
Techniques for Perfectly Smooth Seams and Joints
Apply a thin layer of joint compound over the seam before embedding the tape. Press the tape into the compound, ensuring that it lies flat without bubbles. Once the tape is in place, apply another layer of compound, feathering it out at least 4–6 inches beyond the tape's edges. Fix sheetrock seams carefully to avoid future cracking or bubbling.
Bedding for Stability: Securing Joints for Long-Term Durability
Bedding refers to the process of embedding drywall tape into the joint compound for strong and stable joints. This step is crucial for preventing future cracks and ensuring the longevity of your drywall finish.
What Bedding Involves and Why It’s Important
Bedding strengthens the drywall’s seams by securing the tape under layers of joint compound. Dry wall patch techniques often include bedding as a method to reinforce weak areas, preventing issues down the line.
Applying Compound Evenly for Strong and Secure Joints
The key to proper bedding is applying an even, thin layer of compound over the tape, ensuring that it is fully embedded and smooth. Use a wider drywall knife for this step, typically an 8- or 10-inch blade, to feather the compound edges further out, creating a gradual transition.
Sanding for a Flawless Surface: Achieving a Perfect Finish
Sanding is the critical step that makes your drywall surface smooth and ready for painting or texturing. It removes any imperfections left by the compound and ensures that the surface is flawless.
Sanding Techniques to Eliminate Imperfections
When the compound is fully dry, sand the joints using a fine-grit sanding sponge or pole sander. Be careful not to oversand, as this can expose the tape or damage the drywall. Drywall contractors near me recommend checking the surface for rough spots or unevenness before finishing.
Tools and Grits for Achieving a Smooth, Professional Result
Start with 120-grit sandpaper for rough sanding, then move to 220-grit for a finer finish. Sand in gentle, circular motions, ensuring that all areas are smooth but avoiding over-sanding. Drywall replacement is much more difficult than repairing small imperfections, so take your time with this step.
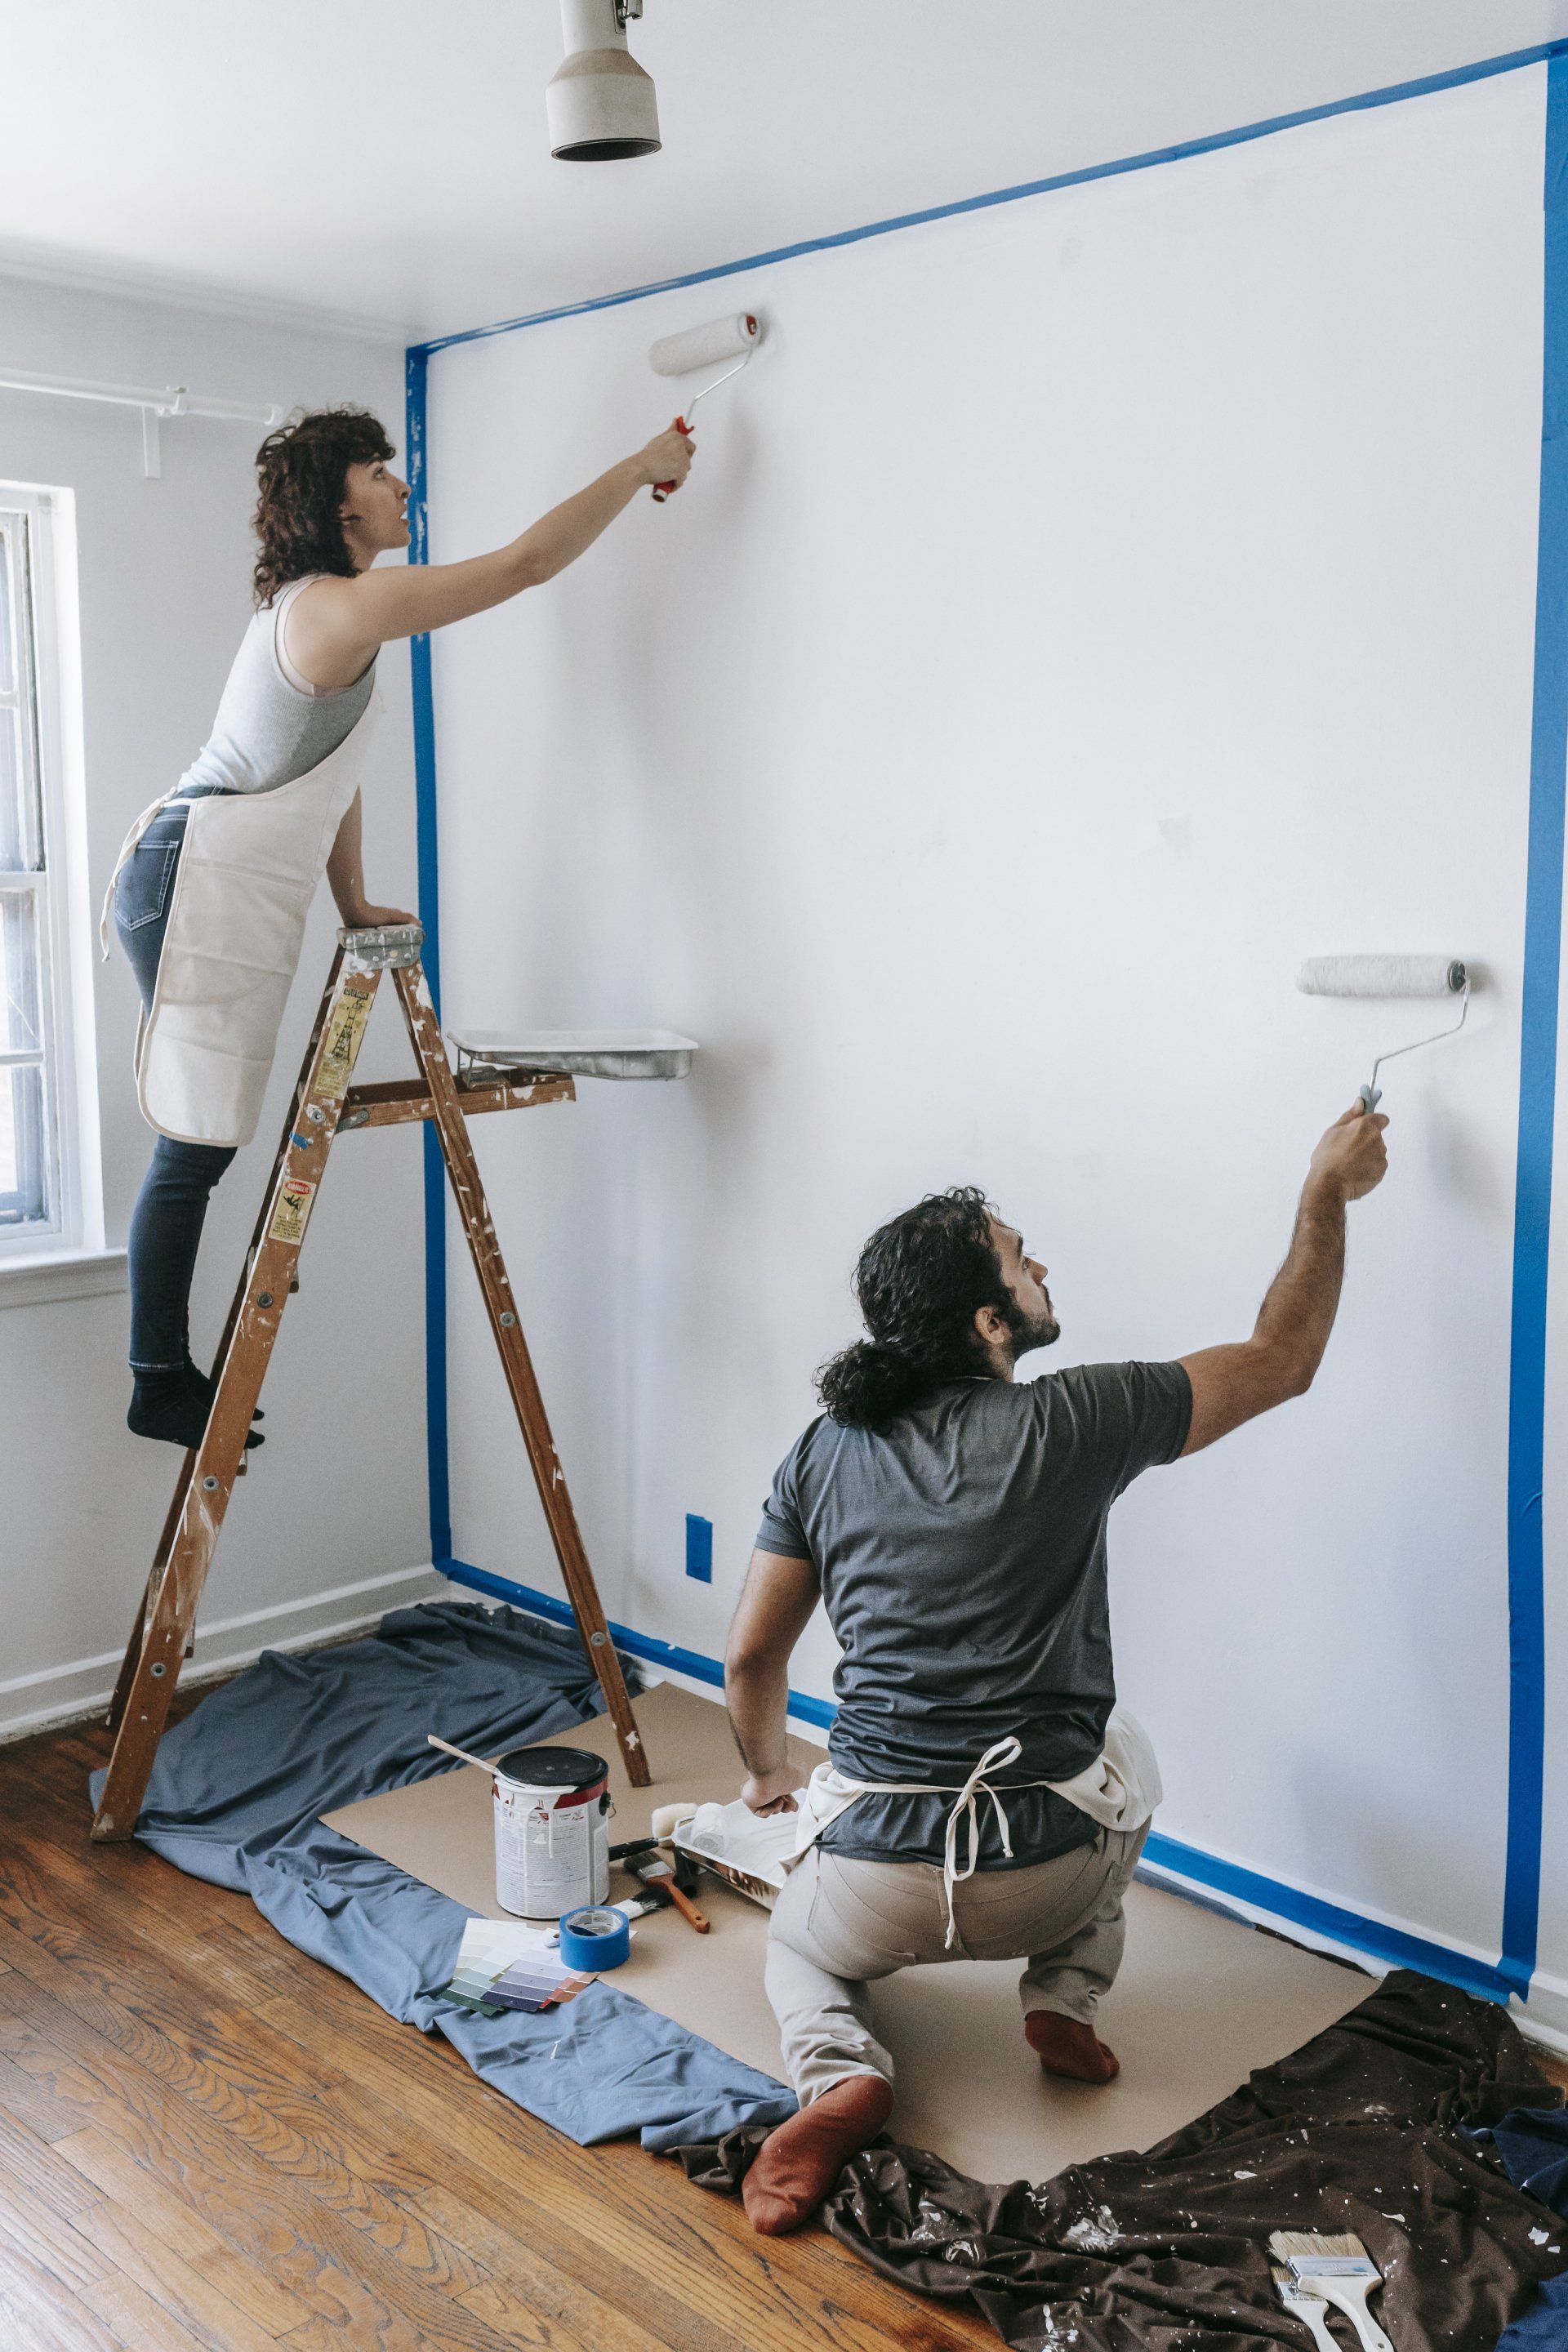
Skim Coating: The Final Step to Perfection
A skim coat is a thin layer of joint compound applied to the entire surface to ensure uniformity and smoothness, particularly important for high-sheen paints.
When and Why to Apply a Skim Coat
Dry wall sheetrock projects benefit from skim coating when you want to achieve the smoothest possible surface, especially if imperfections are still visible after sanding. Drywall finishing professionals often recommend this step for walls exposed to natural light, where flaws are more noticeable.
How a Skim Coat Enhances the Smoothness of Drywall
Apply the skim coat with a wide drywall knife, spreading a thin layer of compound evenly across the entire surface. Smooth it out as much as possible to avoid the need for extensive sanding afterward.
Avoiding Common Mistakes: Tips for a Flawless Drywall Finish
Even the best-laid plans can go awry, and drywall installation is no exception. Here are a few common mistakes to avoid to ensure your project comes out perfect.
Avoiding Over-Sanding and Uneven Taping
One of the most common errors is over-sanding, which can result in dips or exposed tape. Another issue is improper taping, which can lead to visible seams or bubbles. Sheet rock installation professionals recommend checking each layer carefully before moving on to the next step.
Professional Tips for Long-Lasting, Flawless Results
To avoid mistakes, be patient with each step. Use the right tools and materials, like a high-quality dry wall repair kit for small fixes, and take your time sanding and applying compound. For those tackling larger drywall replacement projects, it may be worth consulting with drywall repair Sacramento specialists for expert advice.
Conclusion
Hanging, taping, and bedding sheetrock can be a rewarding process when done correctly. By following these expert techniques, you can achieve a flawless drywall finish that is not only smooth and beautiful but also durable and long-lasting. Whether you're fixing sheetrock or completing a full sheet rock installation, careful attention to detail at each step will ensure professional results. With the right tools, preparation, and techniques, your drywall project can stand the test of time and provide a perfect canvas for any room in your home.