Patch, Paint, Perfect: The Ultimate Guide to Invisible Drywall Repairs
Master the Art of Flawless Drywall Fixes with Professional Insights and Seamless Finishing Techniques
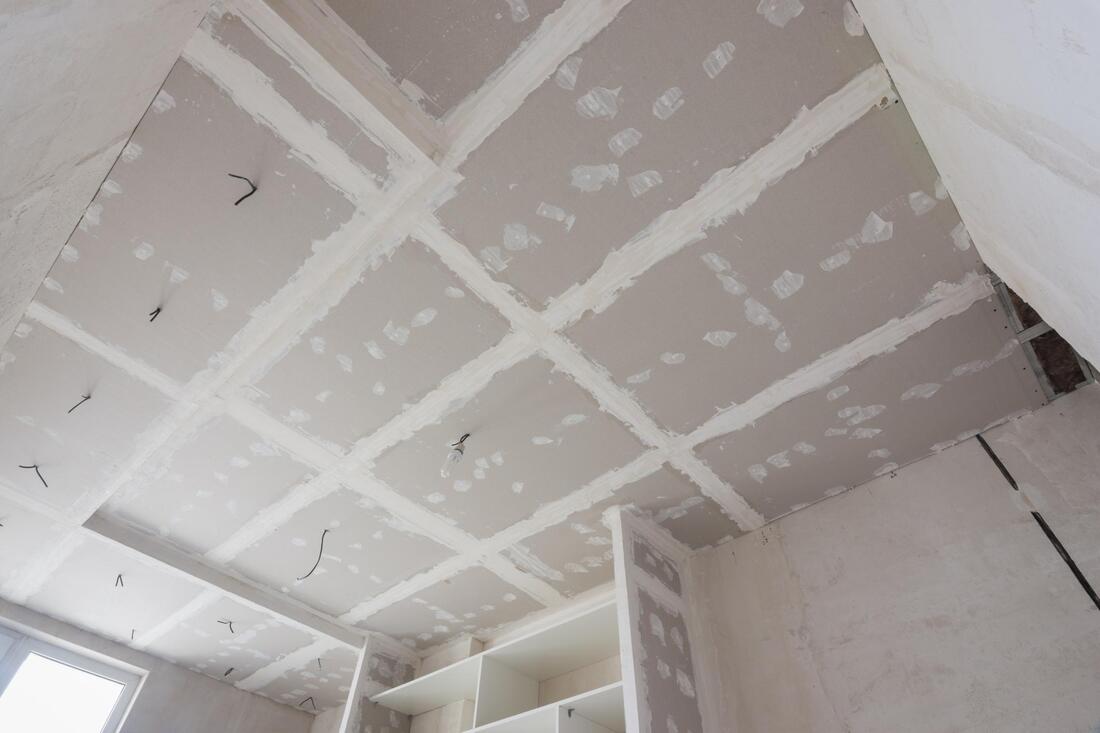
Drywall, the quiet backdrop of our daily lives, occasionally demands the spotlight when cracks, holes, or water damage mar its seamless surface. Whether it's a doorknob's accidental impact or the vestiges of a plumbing leak, imperfections in drywall can detract from the aesthetic harmony of your space. Fear not, for with the right techniques and a touch of professional insight, these blemishes can be made invisible, restoring your walls to their pristine condition. This comprehensive guide will navigate you through the maze of drywall repair and installation, ensuring that your efforts culminate in a finish that's patch, paint, and perfect.
Understanding Drywall Damage
Before diving into repairs, it's crucial to assess the extent of damage. Drywall damage can range from small dings and nail holes to larger holes and water damage. Identifying the type of damage will dictate the repair method, ensuring a professional-grade finish.
Tools and Materials
Gathering the right tools and materials is the first step towards a successful repair. Here's a basic list:
- Joint compound (also known as drywall mud)
- Drywall tape (paper or fiberglass)
- Drywall saw or utility knife
- Sanding block or sandpaper
- Primer and paint
- Drywall patches or sheets (for larger repairs)
- Putty knife
Step-by-Step Guide to Invisible Drywall Repairs
Small Holes and Cracks
Prepare the Area: Clean the hole or crack, removing any loose material. For cracks, slightly widen them to create a better surface for the compound to adhere.
Apply Joint Compound: Fill the hole or crack with joint compound using a putty knife. If dealing with cracks, apply drywall tape over them before covering with joint compound.
Sand Smooth: Once the compound is dry, sand the area smooth.
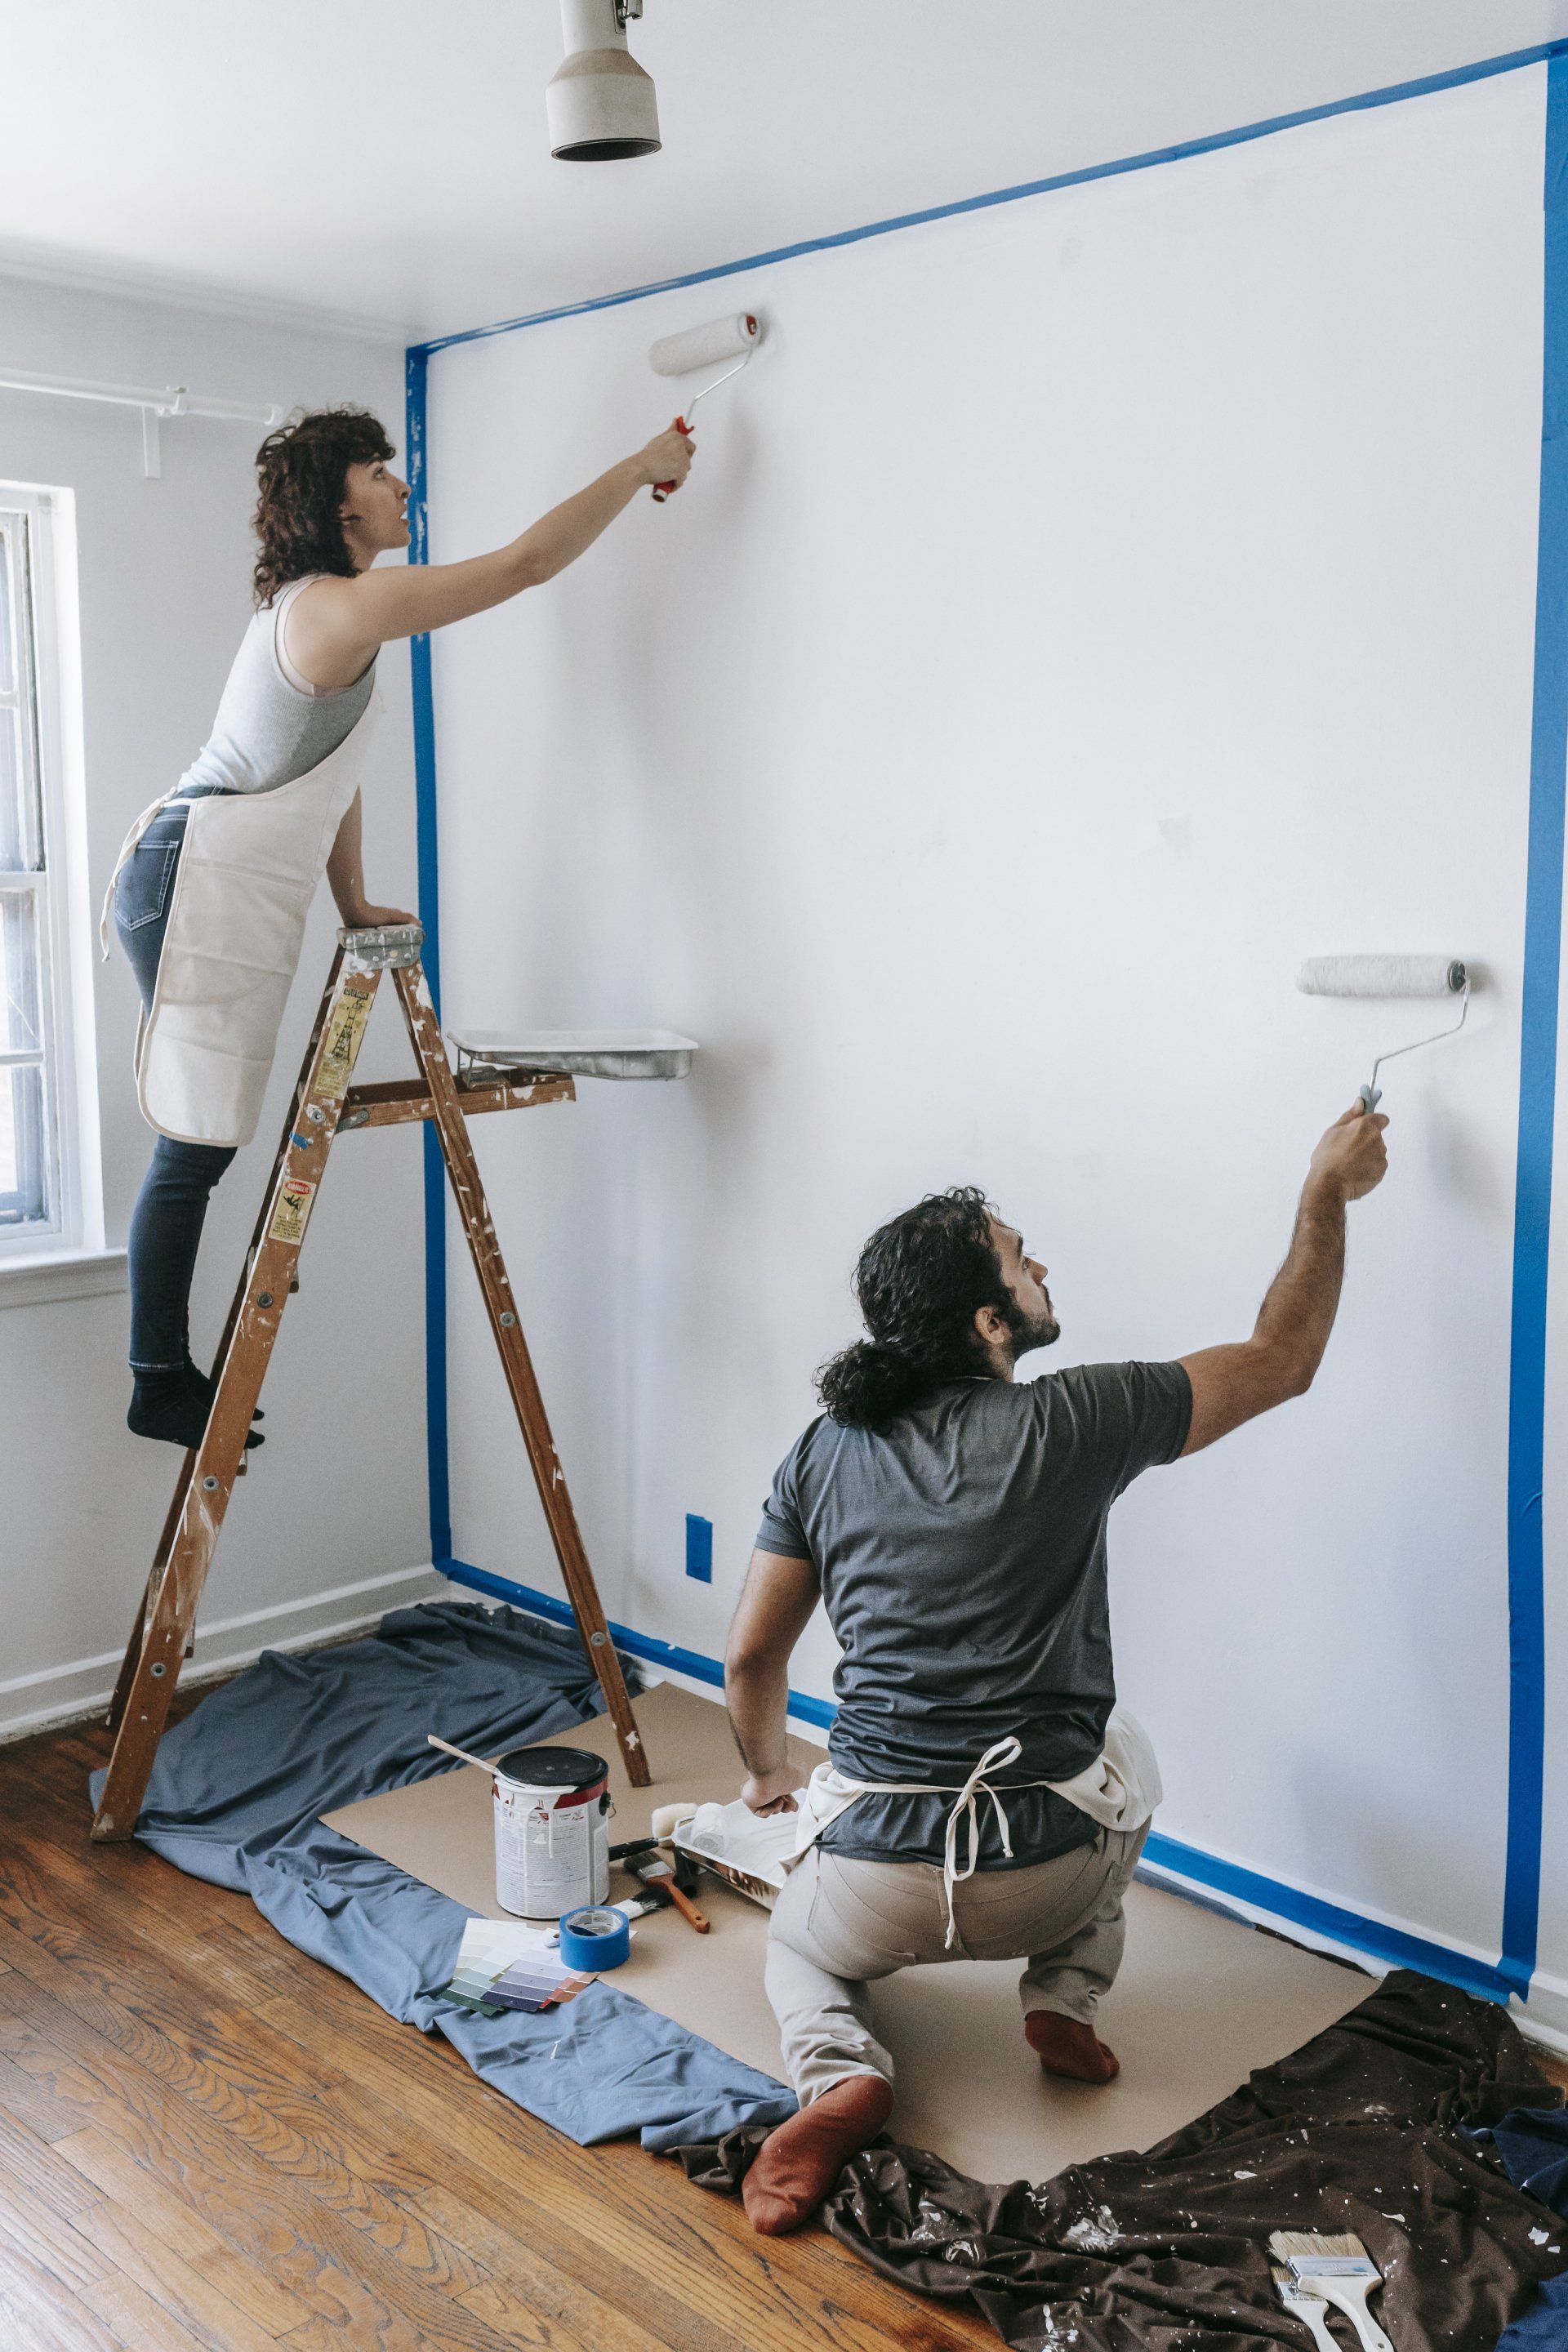
Prime and Paint: Apply primer to the repaired area before painting to ensure an even finish.
Medium to Large Holes
Cut a Clean Area: Use a drywall saw or utility knife to trim around the damaged area, creating a square or rectangular hole for easy patching.
Install a Patch: For medium holes, adhesive-backed patches can be used. Larger holes may require a piece of drywall to be cut to size and secured with drywall screws to the surrounding studs.
Tape and Mud: Apply drywall tape around the edges of the patch, then cover with joint compound. Feather the edges to blend with the existing wall.
Sand, Prime, and Paint: After drying, sand the area until smooth, then prime and paint.
Water Damage and Large Repairs
When it comes to top-notch drywall services, Foothill Painting and Drywall stands out for its exceptional craftsmanship and reliability. Whether you're in need of expert painting or drywall repair in Roseville, CA, Foothill Painting Drywall has you covered. Similarly, West River Framing and Drywall offers comprehensive framing and drywall solutions, ensuring your projects are completed with precision and quality. Water-damaged drywall often requires cutting out the affected area and replacing it with new drywall. This process can be intricate, involving the matching of new with old, ensuring structural integrity, and possibly addressing underlying issues such as plumbing leaks.
To achieve a perfect drywall patch, it's essential to know how to make a drywall patch invisible. For these reasons, seeking professional services like Patch Perfect Drywall or Patch and Paint Pros may be advantageous, especially when dealing with significant damage or mold concerns. Trust these industry leaders to transform your spaces with their specialized skills and attention to detail.
Finishing Touches for a Professional Look
Achieving a seamless repair goes beyond mere patching and painting. Here are additional tips to ensure a professional-grade finish:
Texture Matching: If your walls have texture, replicate it on the repaired area to blend it seamlessly with the surroundings.
Adequate Drying Time: Allow ample time for joint compound and paint to dry fully between steps to avoid shrinkage and color discrepancies.
Quality Paint Match: Ensure your paint matches the existing wall color. Even slight variations can highlight the repair.
When to Seek Professional Services
While many drywall repairs can be DIY projects, certain situations call for professional services. These include:
- Large-scale repairs or installations
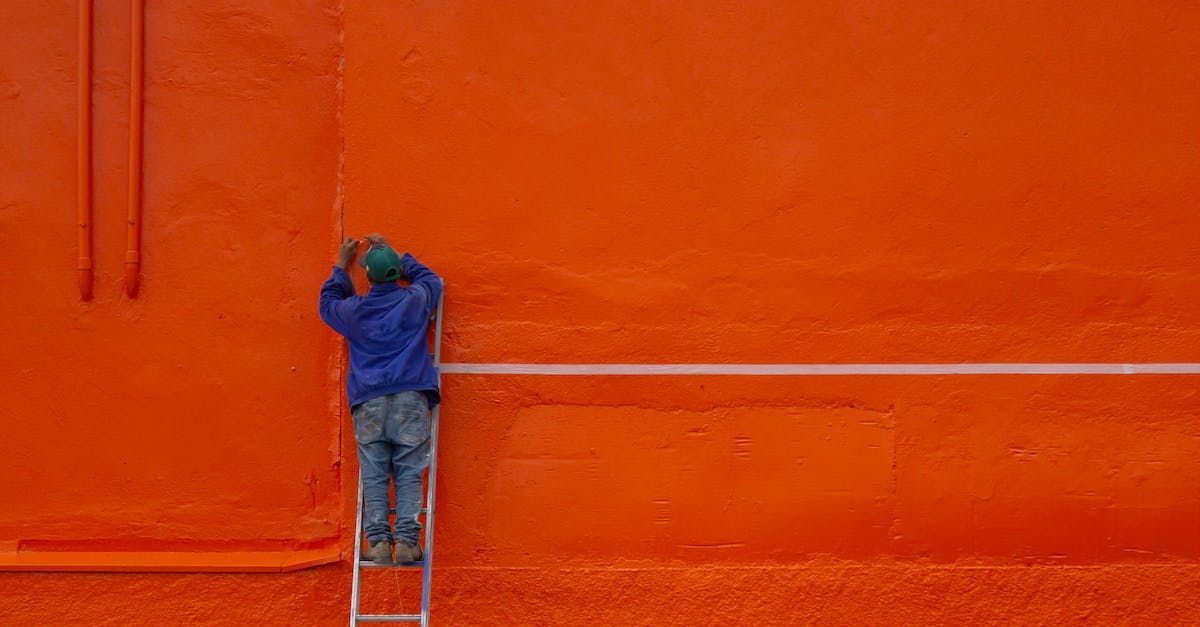
- High ceilings or difficult-to-reach areas
- Water damage that might have structural implications
- Matching complex textures or finishes
Professional drywall repair and installation services have the expertise, tools, and experience to tackle these challenges efficiently, ensuring the durability and aesthetic quality of the work.
Conclusion
Drywall repairs, when done correctly, can be virtually invisible, blending seamlessly with the rest of your wall. This guide aims to equip you with the knowledge and techniques to tackle drywall repairs confidently. Remember, the key to a perfect finish lies in meticulous preparation, precise execution, and patience during the drying and finishing phases. Whether you decide to DIY or call in professional services, achieving a flawless drywall repair is within reach, restoring the beauty and integrity of your home's walls.