The Art of Sheetrock: Mastering Hanging, Taping, and Bedding Techniques
Achieve Seamless Walls with Pro Sheetrock Hanging, Taping & Bedding Methods
Sheetrock, commonly known as dry wall or drywall, is a fundamental material in modern construction. Whether you're constructing new walls, completing home renovations, or fixing damaged areas, mastering the hanging, taping, and bedding process is essential for creating smooth, durable surfaces. In this guide, we’ll break down the key techniques for hanging sheet rock, applying drywall tape, and bedding joints with drywall compound. From prepping your tools to avoiding common mistakes, this article will help you achieve professional results in your drywall installation and repair projects.
Understanding the Importance of Proper Sheetrock Installation
Before we dive into the techniques, it’s essential to understand why sheet rock installation is such a critical part of any construction project. Incorrectly hung drywall or poorly applied tape and compound can result in unsightly seams, weak joints, and walls that need frequent repairs. Whether you’re handling a dry wall repair or a full drywall installation, knowing the right methods will help you avoid these issues and ensure a durable, smooth finish.
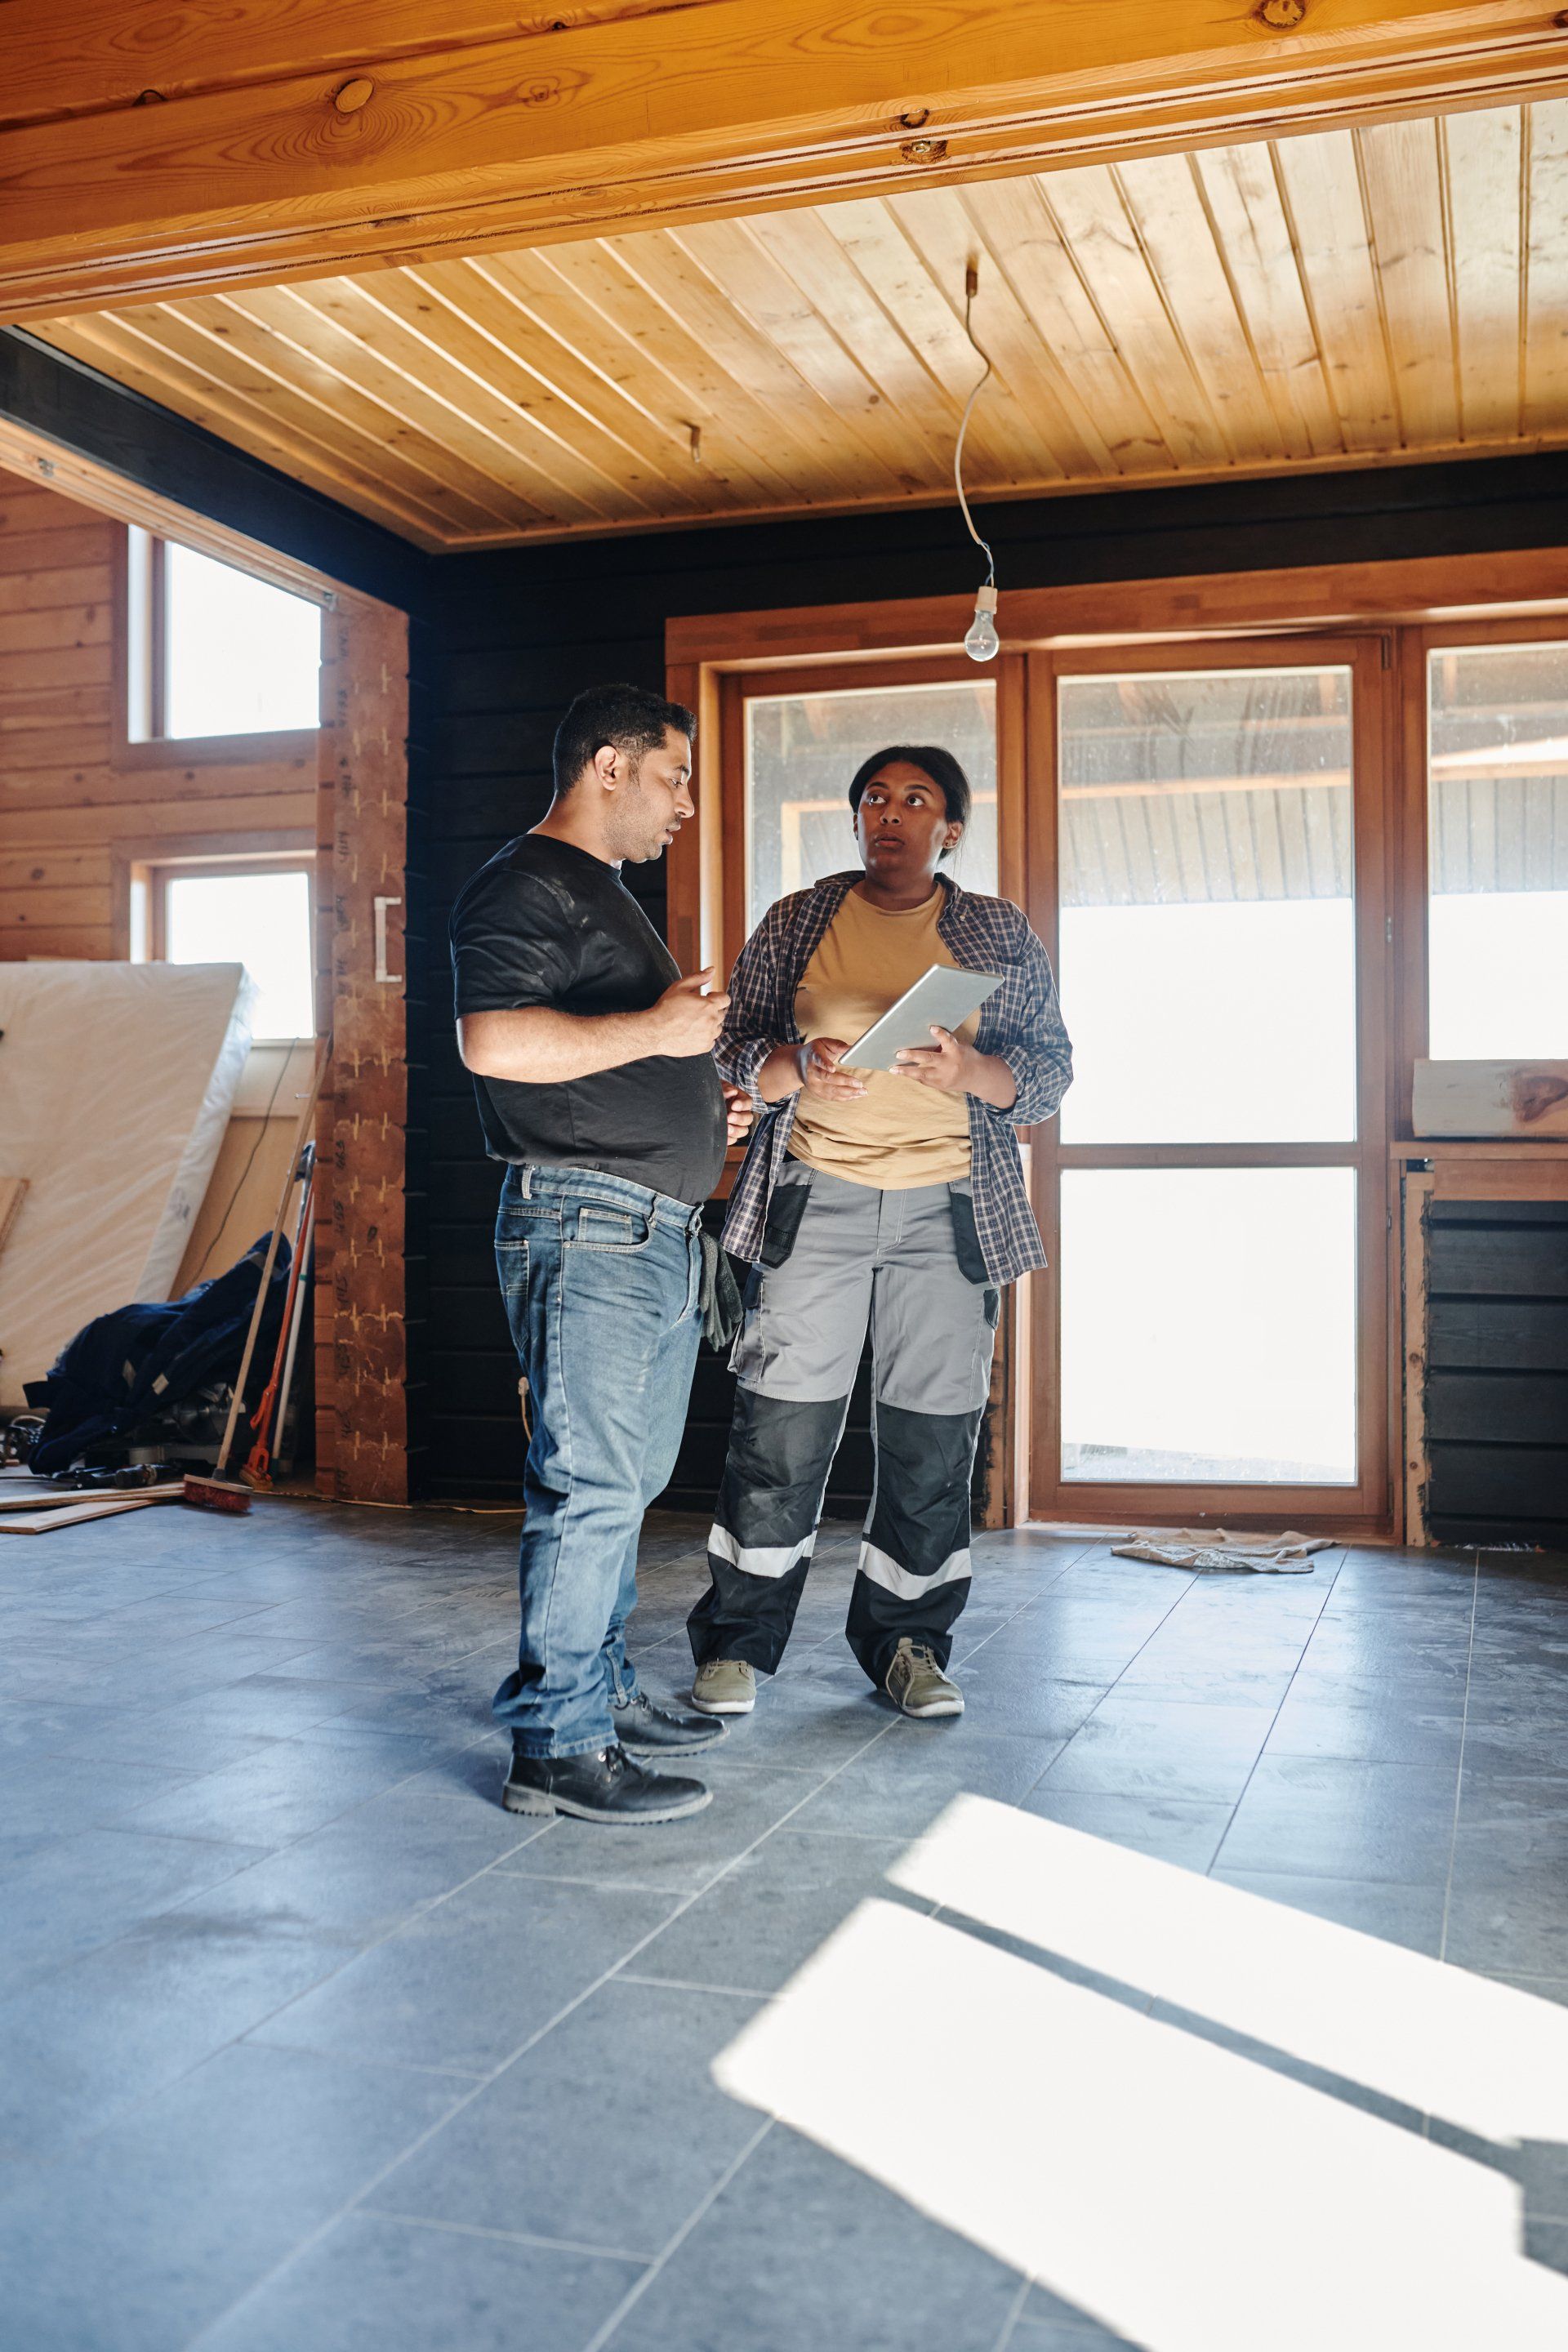
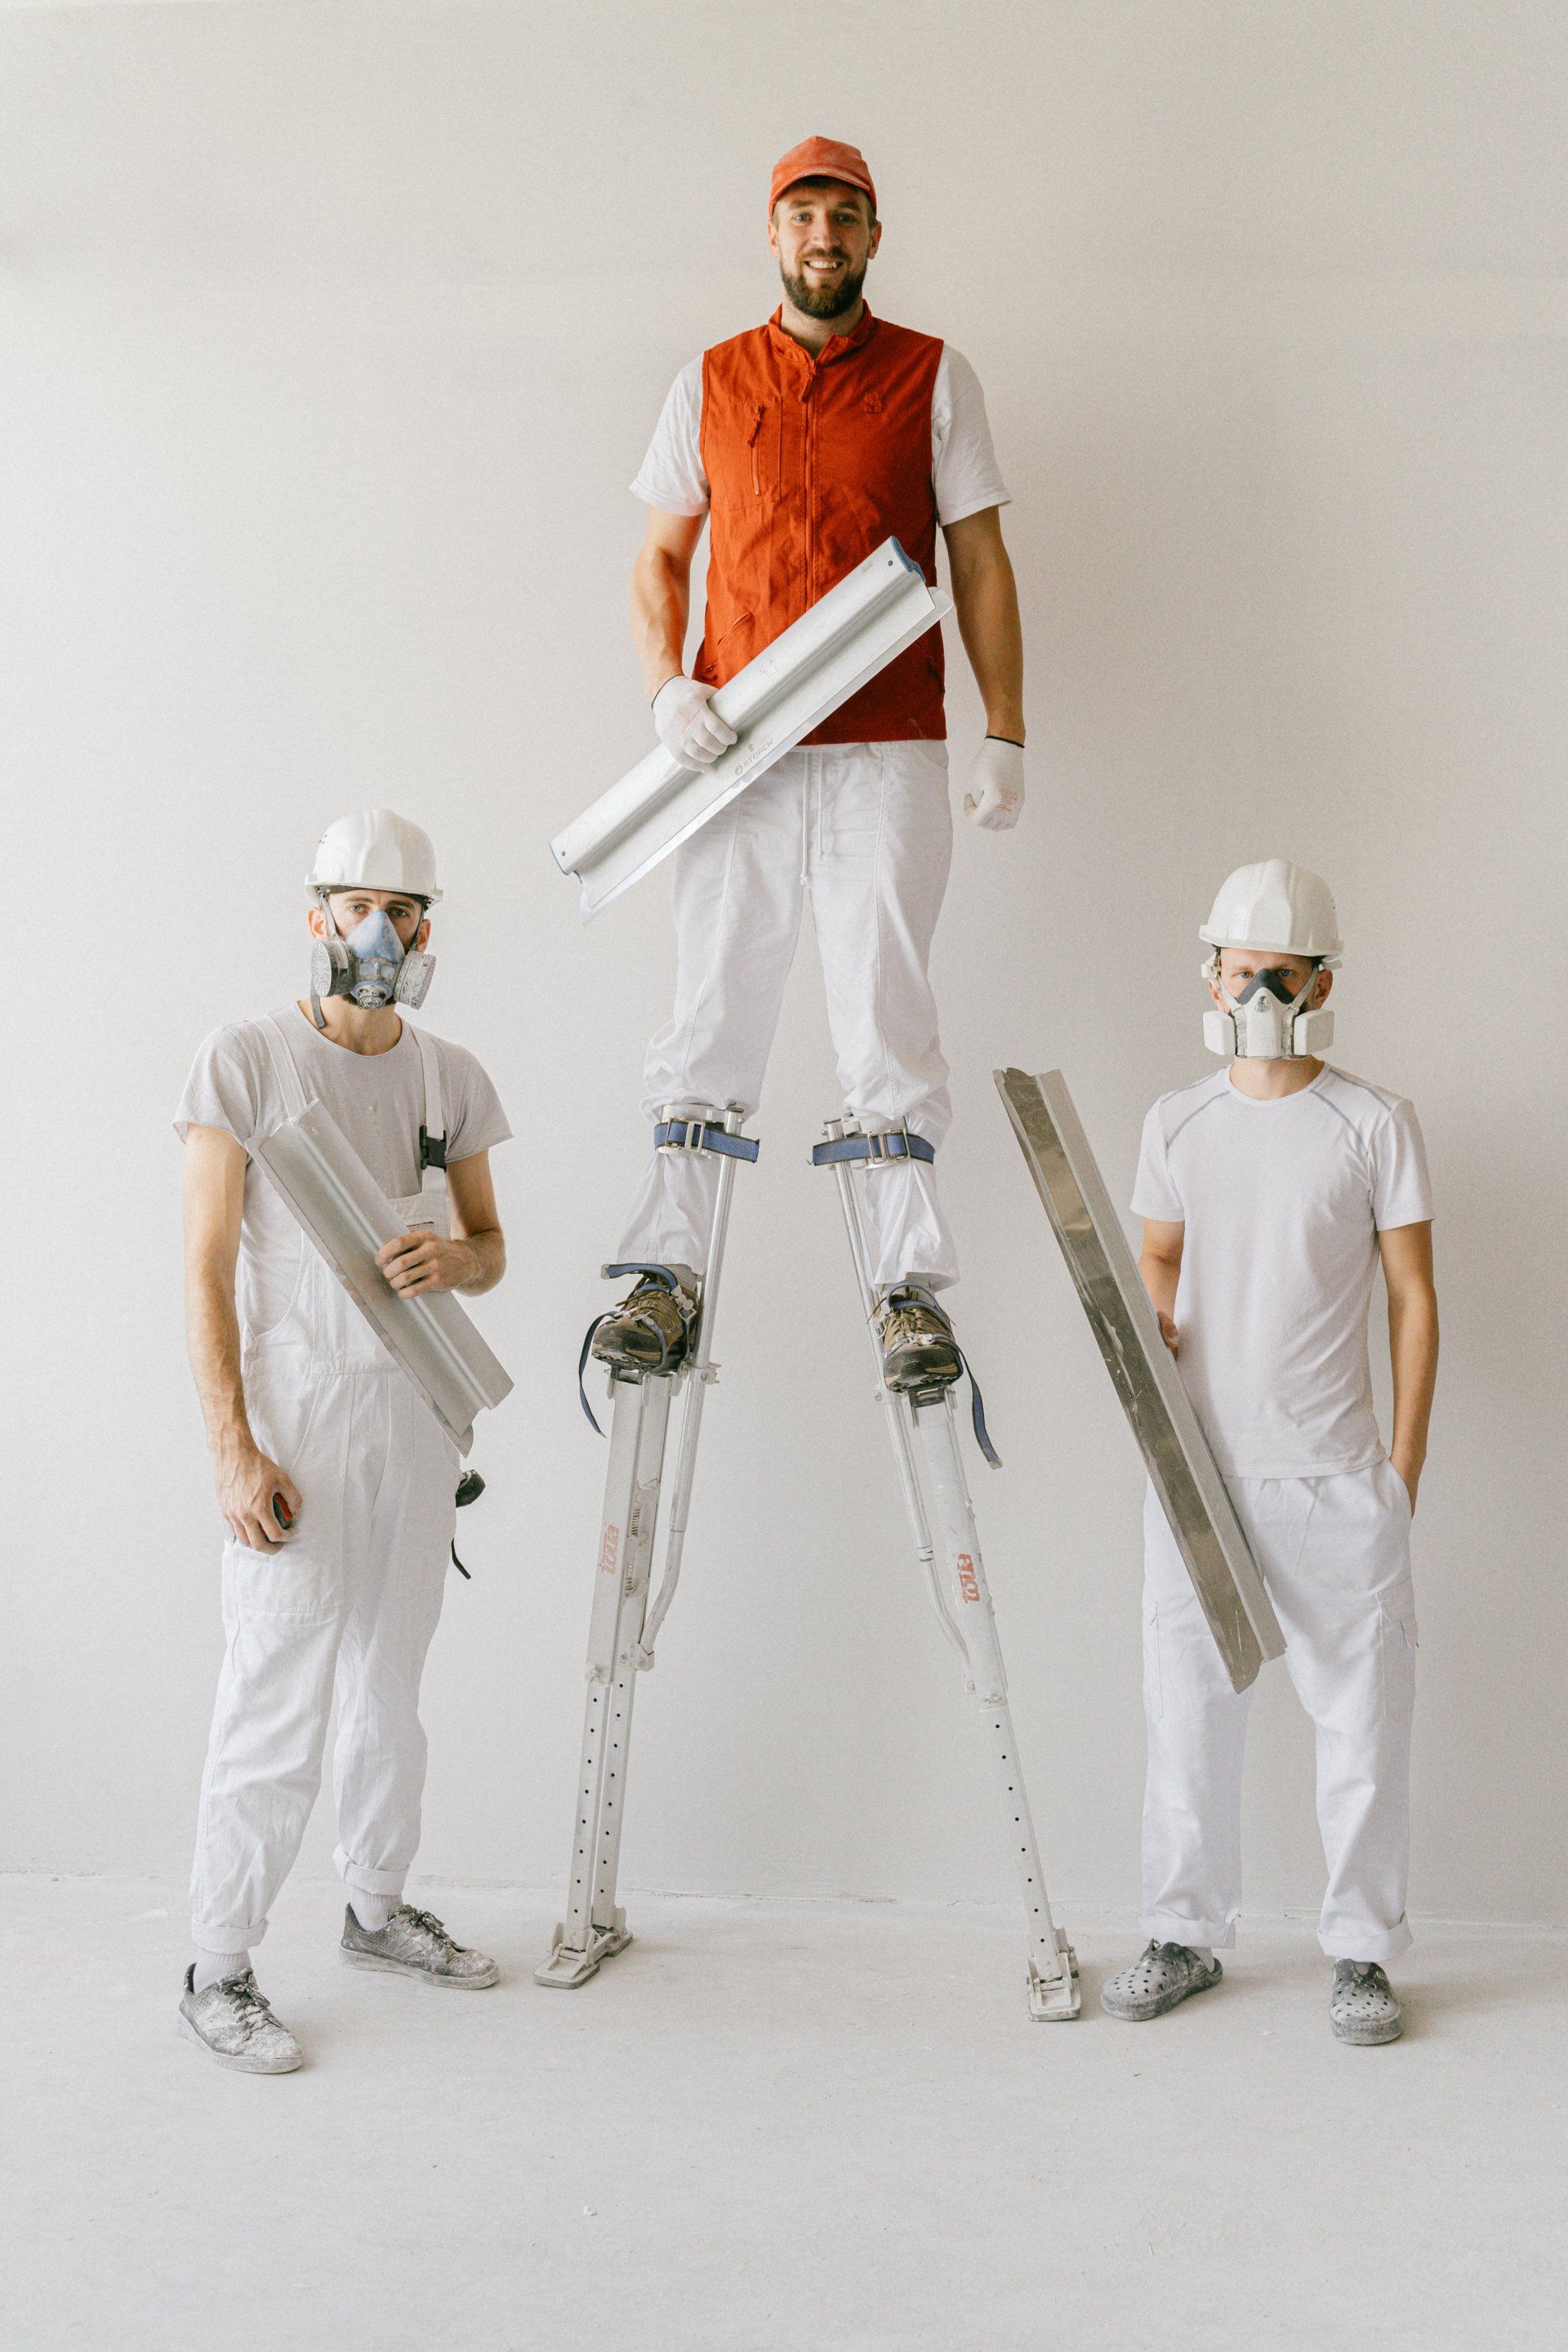
If you’re not up for the task or need expert assistance, consider hiring drywalling contractors near me or sheetrock contractors for
professional help.
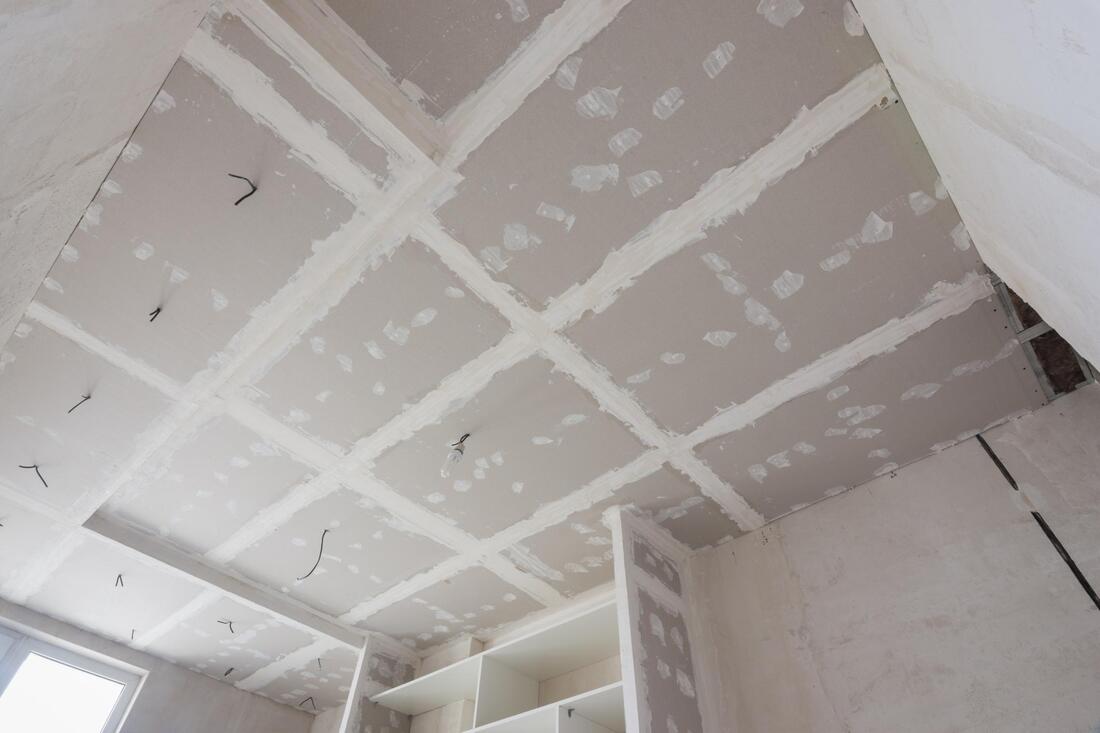
Step 1: Preparing for Sheetrock Hanging
The first stage of working with sheetrock and taping is the proper hanging of the drywall sheets. Here are the steps to follow:
1. Gather Your Tools
Having the right tools is essential for a successful installation. Here's what you'll need:
- Drywall sheets or drywall sheet rock
- Dry wall lift (for larger projects or ceilings)
- Drywall screws or nails
- Utility knife (for cutting sheets)
- Drywall T-square (for precise cuts)
- Drill or screwdriver
2. Measure and Cut the Drywall Sheets
Start by measuring the wall or ceiling area where the drywall sheets will go. Use a T-square to mark your measurements on the sheet rock, then cut along the lines using a utility knife. If you’re installing drywall on the ceiling, consider using a dry wall lift to help hold the heavy drywall sheet rock in place while you fasten it to the joists.
3. Fasten the Drywall Sheets
Position the first drywall sheet rock against the wall or ceiling, making sure it’s aligned correctly. Using your drill or screwdriver, fasten the drywall to the studs or joists with screws or nails, starting from the center and working outward. Make sure the screws are slightly recessed into the surface of the drywall without tearing the paper. Continue this process until all the drywall sheets are securely installed.
Step 2: Taping the Drywall Joints
Once the drywall sheets are hung, the next step is to apply dry wall tape over the joints. Taping is crucial for covering seams between drywall panels and preventing cracks.
1. Apply the First Coat of Drywall Compound
Before applying dry wall tape, spread a thin layer of drywall compound (also called sheetrock compound or taping compound) along the joints using a taping knife. The compound serves as an adhesive for the tape and helps smooth the surface.
2. Place the Drywall Tape
Cut a strip of dry wall tape or sheetrock tape slightly longer than the joint you're covering. Press the tape into the fresh compound, making sure it's centered over the joint. Use a taping knife to smooth the tape down and remove any bubbles. Be careful not to stretch the tape too tightly, as this can cause it to lift later on.
For corners, use specialized corner drywall tape to create a clean, smooth edge.
3. Apply a Second Coat of Compound
After the first coat of compound has dried (typically 24 hours), apply a second layer of drywall compound over the tape, extending the compound about 2-3 inches beyond the edges of the tape to blend it with the rest of the wall. Once again, smooth it out with your taping knife and let it dry.
Step 3: Bedding the Drywall Joints
Bedding is the process of embedding sheetrock tape into the drywall compound for a smooth, seamless finish. Here's how to properly bed your joints:
1. Use the Right Compound
For bedding, you’ll need a drywall taping compound that is specifically designed for this purpose. Some professionals prefer lightweight compound for easier application, while others opt for all-purpose sheetrock compound for versatility.
2. Feather the Edges
When bedding the joints, apply the drywall compound using a wide taping knife (at least 10-12 inches). Feather the edges of the compound outward to make the joint blend into the surrounding drywall. Feathering prevents ridges and ensures a smooth transition from the joint to the rest of the wall.
3. Sand and Repeat
Once the bedding coat is dry, lightly sand the surface to remove any imperfections or high spots. Apply a final coat of drywall compound if necessary, feathering the edges even further. After the final coat is dry, sand it again for a smooth, polished finish.
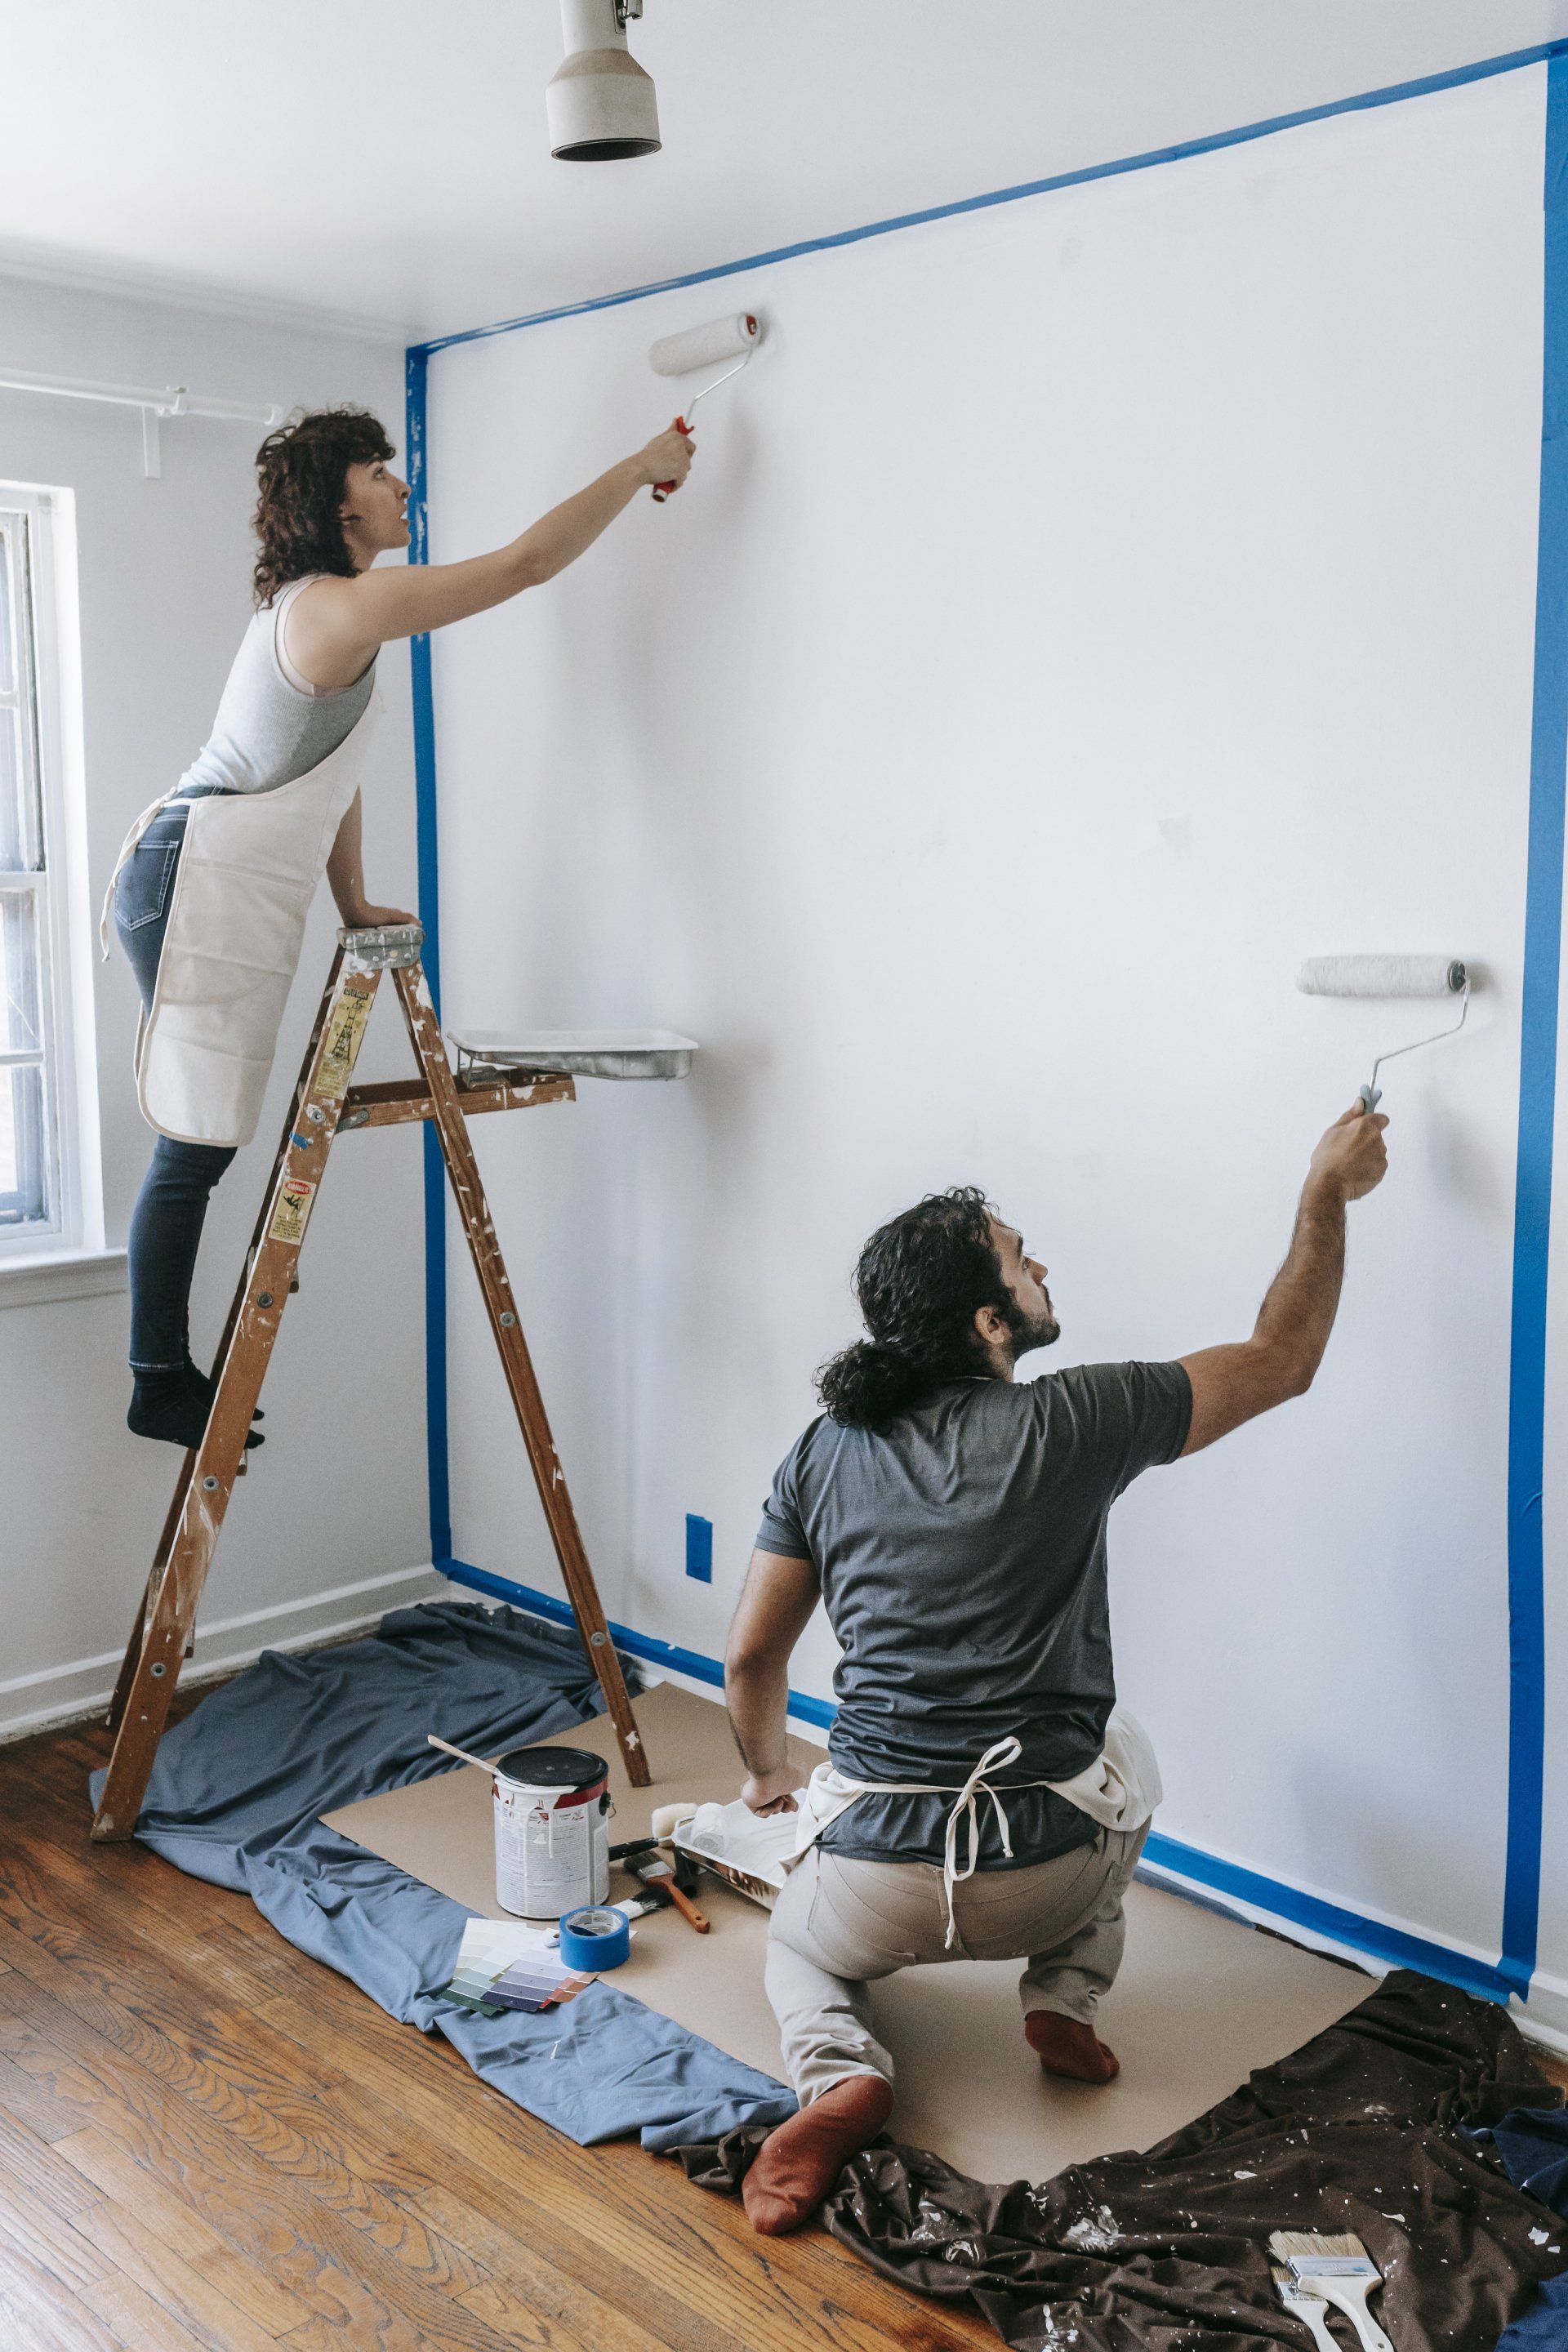
Step 4: Finishing the Drywall
After taping and bedding, the final step is to finish the drywall surface for painting or texturing. Here’s how to ensure a perfect finish:
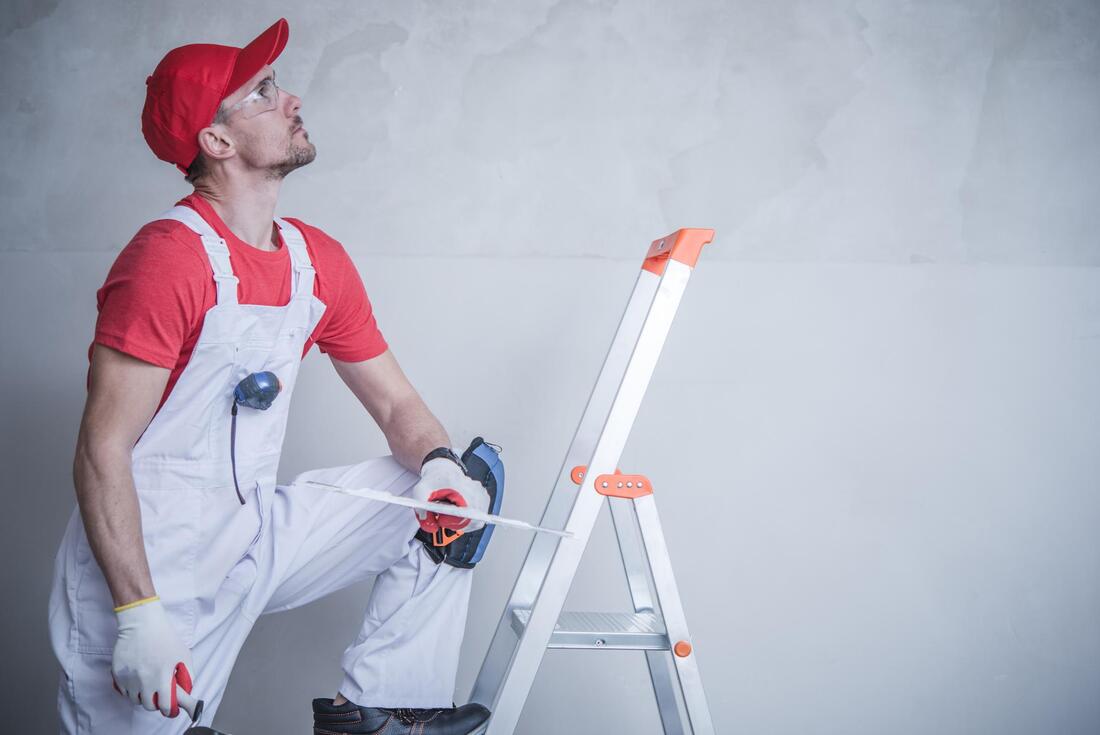
1. Final Sanding
Once the sheetrock compound is completely dry, sand the entire surface with a fine-grit sanding block or pole sander. Be careful not to oversand, as this can damage the surface and require additional repairs.
2. Prime the Surface
Before painting, apply a drywall primer to seal the surface and create an even base for your paint. Primer helps the paint adhere better and prevents blotchiness.
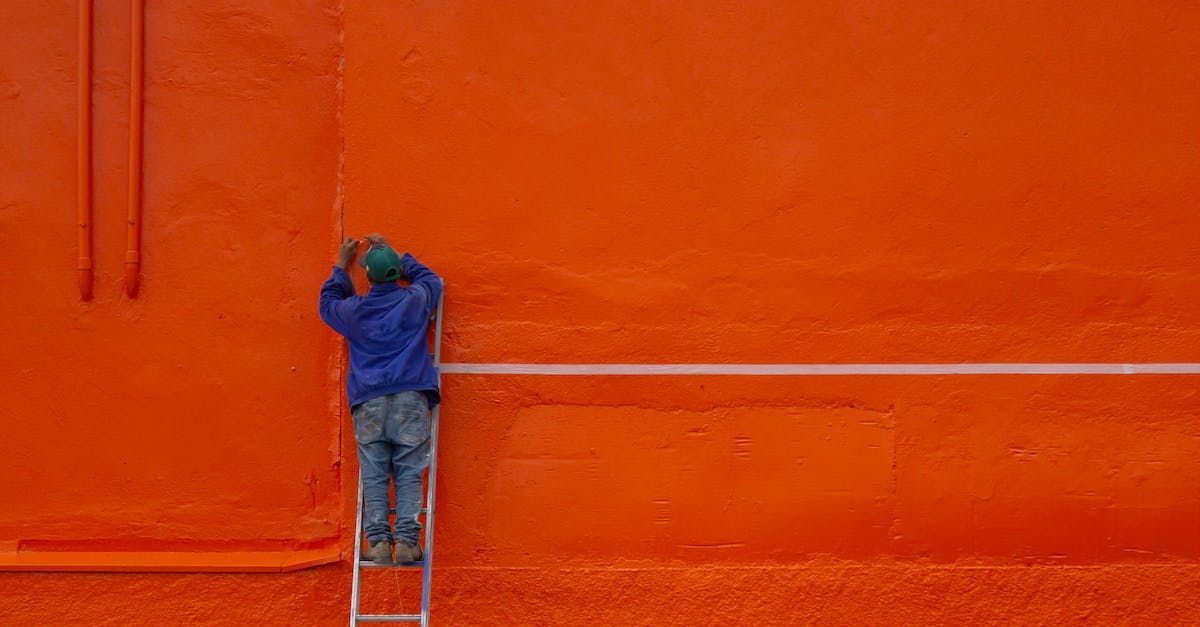
3. Paint or Texture
Finally, apply your desired paint color or wall texture to complete the job. The smooth finish you’ve achieved through proper hanging, taping, and bedding will ensure the paint or texture looks professional.
Common Mistakes to Avoid in Drywall Installation and Repair
Even experienced DIYers can make mistakes when working with sheet rock. Here are some common pitfalls to watch out for:
- Using too much compound: Overloading the joints with compound can cause bumps and ridges that are difficult to sand down later.
- Skipping sanding: Proper sanding is essential for a smooth finish. Rushing through this step can leave visible imperfections.
- Not feathering edges: Failing to feather the compound will leave visible lines and bumps around the joints, making your seams stand out.
- Incorrect screw placement: Screws should be placed just below the surface of the drywall, but not so deep that they tear the paper.
By avoiding these mistakes, you can ensure a flawless finish every time.
Hiring a Professional Drywall Contractor
If the process of installing dry wall and handling drywall and taping feels overwhelming, you can always hire a drywall contractor or search for sheetrock contractors in your area. A qualified sheetrock contractor drywall professional can handle everything from hanging and taping to dry wall compound application and finishing.
For example, if you’re in the Sacramento area, searching for drywall Sacramento services will connect you with local contractors who specialize in drywall installation and dry wall repair. You can also look for drywalling contractors near me or sheetrock contractors for assistance with your project.
Conclusion
Mastering the art of hanging, taping, and bedding sheetrock is essential for achieving smooth, durable walls in any construction or renovation project. By following these pro techniques for drywall installation, you'll be able to create seamless surfaces that stand the test of time. From hanging drywall sheets to applying drywall compound and sheetrock tape, the key is patience, precision, and the right tools.
For larger projects or more complex repairs, don’t hesitate to seek professional help by contacting sheetrock contractors or a drywall contractor in your area. With their expertise, you can rest assured that your walls will look flawless and professional.
By using these tips and avoiding common mistakes, you’ll be well on your way to mastering the art of sheetrock installation and repair.