Speedy Walls: Efficient Drywall Hanging & Taping for Busy Bees
Master the Art of Quick and Effective Drywall Installation and Finishing for Flawless Walls
In today's fast-paced world, efficiency is key, especially when it comes to home improvement projects like drywall hanging, taping, and bedding. Whether you're a DIY enthusiast or a professional looking to streamline your workflow, mastering the art of quick and effective drywall installation and finishing is essential. This comprehensive guide will walk you through the entire process, ensuring that your walls are not only constructed speedily but also meet the highest quality standards.
1. Preparation: The Foundation of Speed and Efficiency
Before diving into the physical work, proper preparation is crucial. This includes gathering all necessary tools and materials such as drywall panels, joint compound, drywall tape, screws, and a drill. Additionally, ensure the work area is clean and free from obstacles. Planning your work sequence and having everything within reach can significantly reduce time wastage and increase efficiency.
2. Drywall Hanging: Quick Steps for Solid Walls
a. Measuring and Cutting
Measure the area where the drywall will be installed accurately. Mark the measurements on the drywall panel and use a T-square to ensure straight lines. A sharp utility knife is ideal for scoring the panel; apply pressure and snap the panel along the scored line for a clean cut. Efficient cutting reduces material wastage and speeds up the hanging process.
b. Securing the Panels
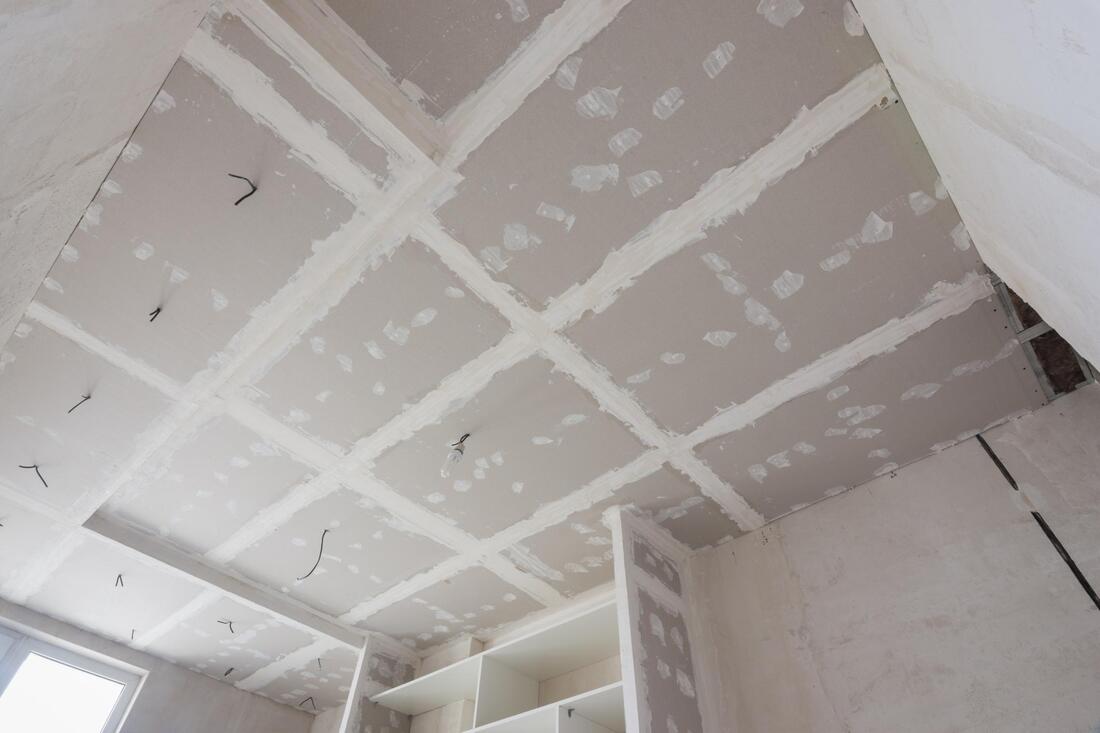
Start hanging drywall from the ceiling before moving to the walls to ensure a seamless fit. Use a drywall lift for ceilings to maintain efficiency and safety. When securing the panels to the studs or joists, use a drill and drywall screws. Place screws around 16 inches apart and sink them slightly below the surface of the drywall without breaking the paper. This step is vital for a smooth finishing process.
3. Taping: The Key to Invisible Seams
a. Applying Joint Compound
Mix your joint compound to the right consistency—neither too thick nor too thin. Apply a thin layer of compound along the joints where two drywall panels meet, using a drywall knife. This base layer will help the tape adhere properly and reduce the chances of bubbling.
b. Drywall Taping
Place the drywall tape over the freshly applied joint compound, ensuring it's centered over the seam. Press the tape into the compound with your knife, removing any air bubbles and excess compound. For corners, use a corner tool to achieve a crisp, clean angle. Proper taping is essential for strong, invisible seams.
4. Bedding: Smooth Surfaces Await
After the tape is applied, it's time for bedding. Apply another layer of joint compound over the tape, feathering the edges to blend with the surrounding drywall. Allow this layer to dry thoroughly, which can take up to 24 hours depending on humidity and temperature. Sanding between coats is crucial for a smooth finish. Use a light touch to avoid damaging the tape.
5. Finishing Touches: Perfection in the Details
a. Additional Coats
Apply one or two more coats of joint compound, sanding between each coat. Each layer should be thinner and wider than the last to create a seamless transition. Pay special attention to screw indentations, filling them until flush with the wall surface.
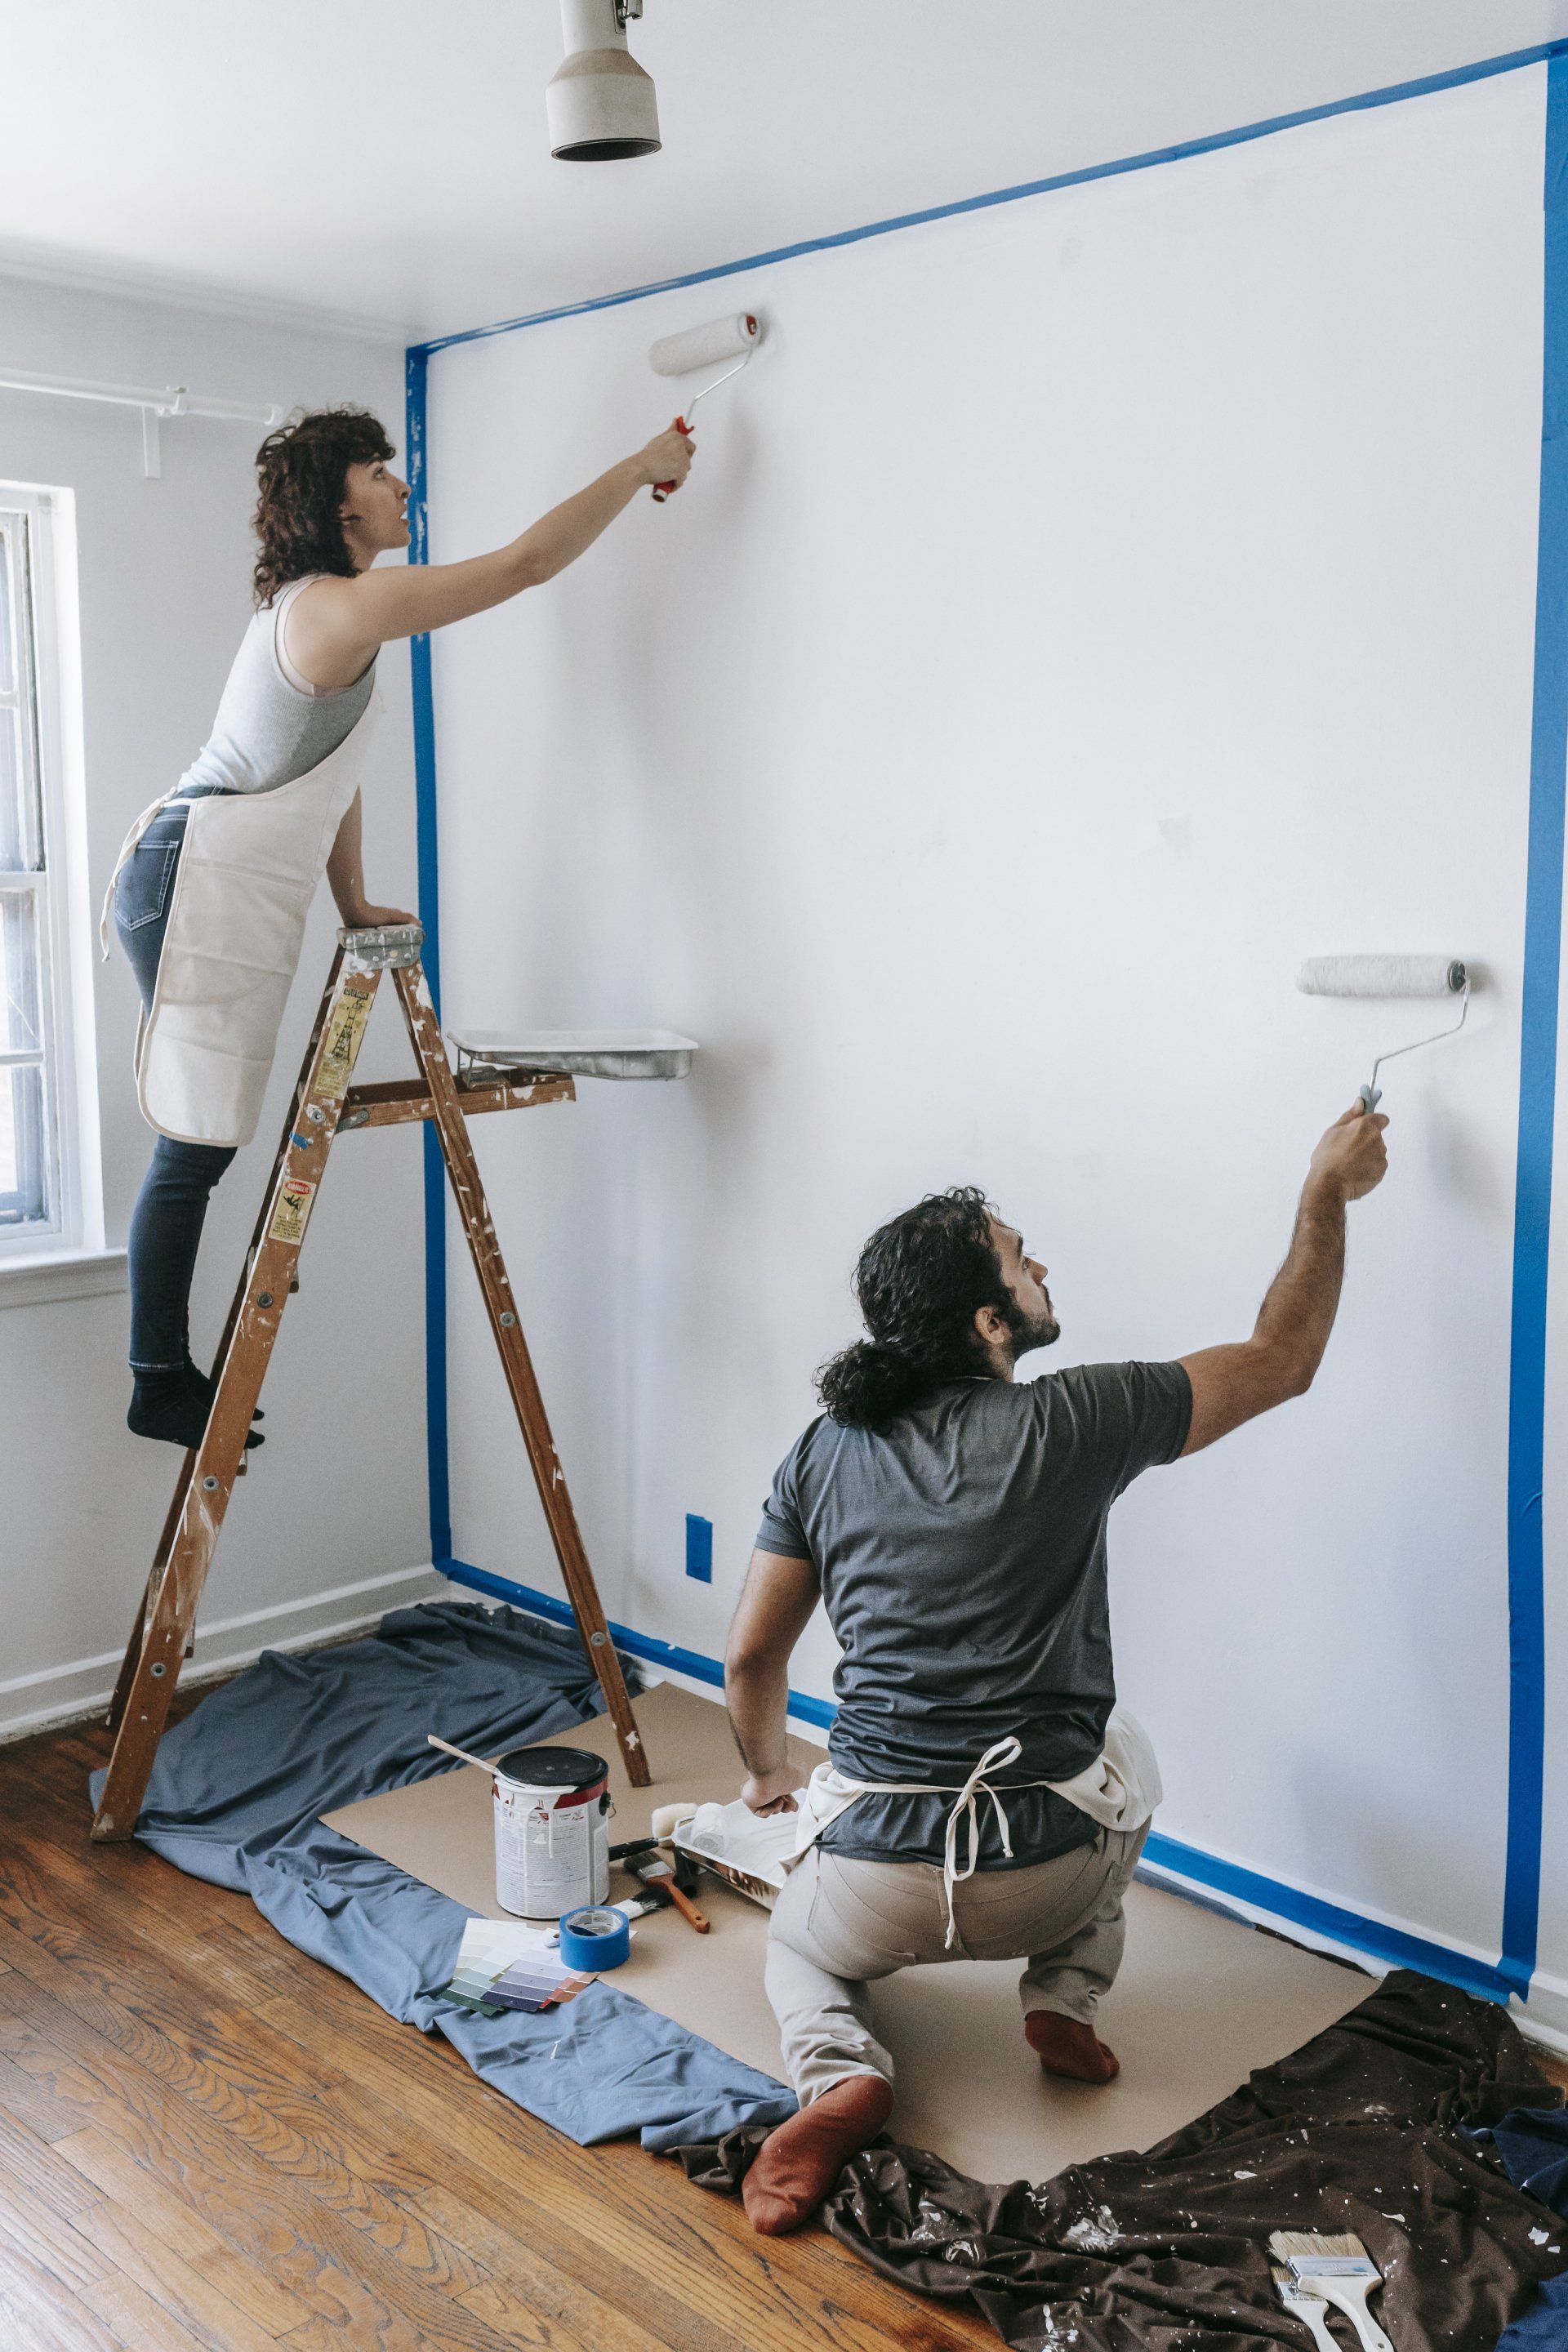
b. Sanding and Priming
Once the final coat is dry, perform a thorough sanding for a flawlessly smooth surface. Use a damp cloth to remove dust before applying primer. Priming is essential for an even paint application and to prevent joint compound from showing through the paint.
Tips for Speed and Efficiency
Plan Your Work: Map out the sequence of tasks to minimize downtime.
Use the Right Tools: Invest in quality tools and materials for better speed and results.
Measure Twice, Cut Once: Accuracy in measuring and cutting can save time in corrections later.
Work Systematically: Start from the ceiling, then move to the walls, and follow a consistent workflow.
Practice Makes Perfect: Efficiency improves with experience. Practice your technique to become faster and more precise.
Conclusion
Efficient drywall hanging, taping, and bedding are achievable with proper preparation, technique, and attention to detail. By following this guide, you can ensure that your projects are completed quickly without sacrificing quality. Remember, the key to speed is not just about moving fast but also about minimizing mistakes and rework. With practice and patience, you'll be able to hang and finish drywall like
a pro, making your walls ready for painting and decoration in no time.