Transform Your Walls: The Ultimate Drywall Plastering Guide for Beginners
Mastering the Art of Drywall Plastering: Essential Tips and Techniques for a Flawless Finish
In the realm of home renovation and construction, transforming your walls with drywall plastering is a pivotal step towards achieving a polished and sophisticated interior. This comprehensive guide is designed for beginners who are eager to learn the intricacies of drywall services, ensuring a seamless journey from bare frames to beautifully finished walls. Whether you're tackling a minor repair or embarking on a full-scale renovation, this guide will equip you with the knowledge and confidence needed to master the art of drywall plastering.
Understanding Drywall Plastering
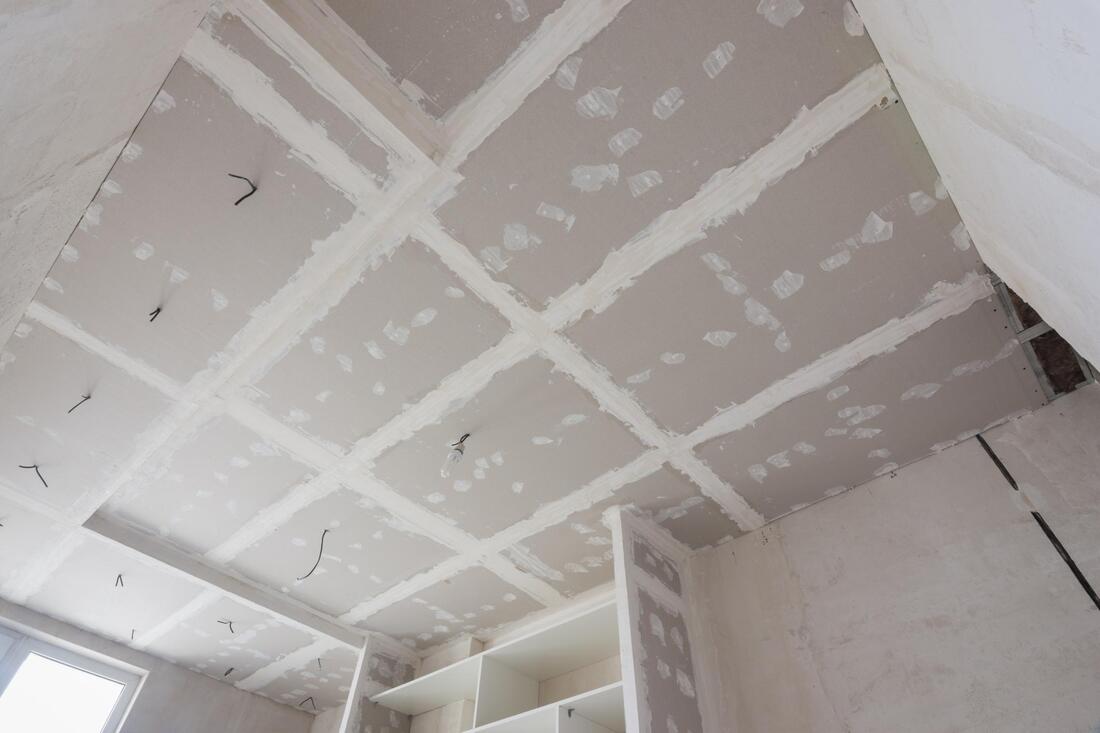
Drywall plastering is the process of applying a smooth finish to walls and ceilings made from drywall panels, also known as gypsum board or plasterboard. This technique not only enhances the aesthetic appeal of your interiors but also provides a durable surface that supports paint and wallpaper applications. Drywall services encompass a range of tasks from installation to finishing, ensuring that your walls are perfectly prepped for any decorative endeavor.
Getting Started: Tools and Materials
Before diving into the plastering process, assembling the right tools and materials is crucial. Here's what you'll need:
Drywall panels: Choose the appropriate thickness for your project, typically 1/2 inch for walls and 5/8 inch for ceilings.
Joint compound: Also known as mud, it's used to fill seams and smooth the wall surface.
Drywall tape: This reinforces the seams between panels.
Putty knife and trowel: Essential for applying and smoothing the joint compound.
Sanding tools: For achieving a smooth finish.
Safety gear: Dust mask, goggles, and gloves to protect yourself during the process.
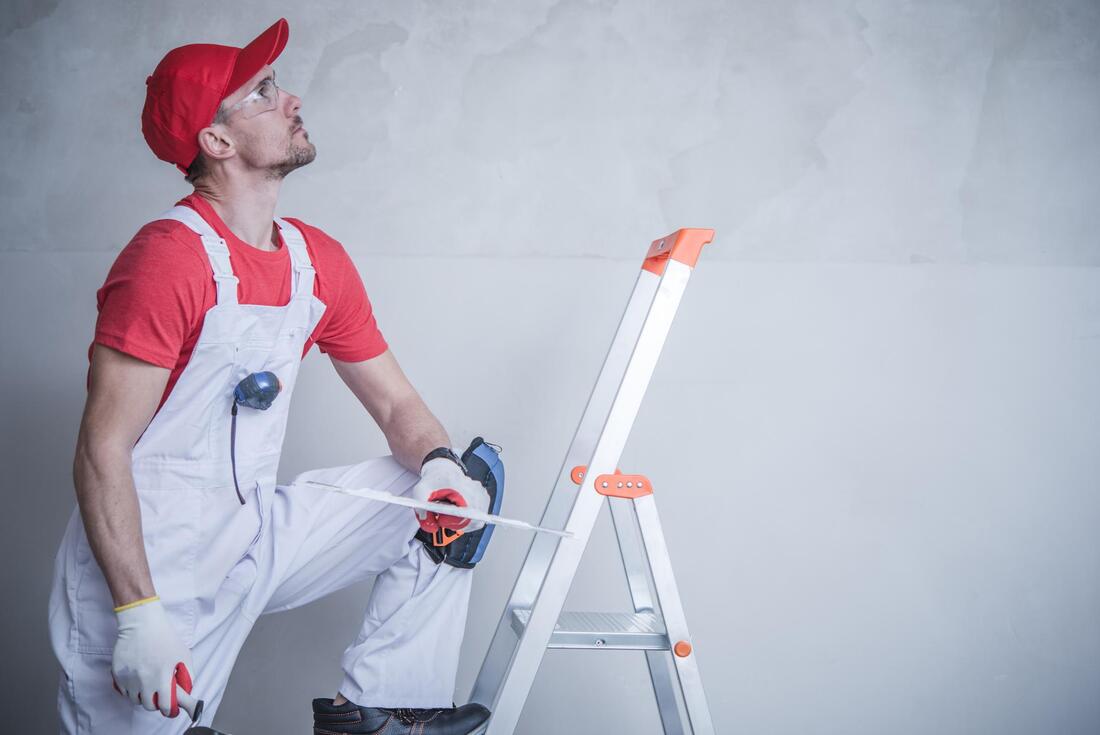
Step-by-Step Guide to Drywall Plastering
1. Preparing the Area
Ensure the space is clean and free from debris. Remove any old wall coverings and nails. For best results, apply a primer to the drywall panels before starting the plastering process. This step ensures better adhesion of the joint compound.
2. Installing Drywall Panels
Begin by measuring and cutting the drywall panels to fit your wall space. Secure the panels to the wall studs using drywall screws. Ensure that the screws are slightly recessed but do not tear the paper surface.
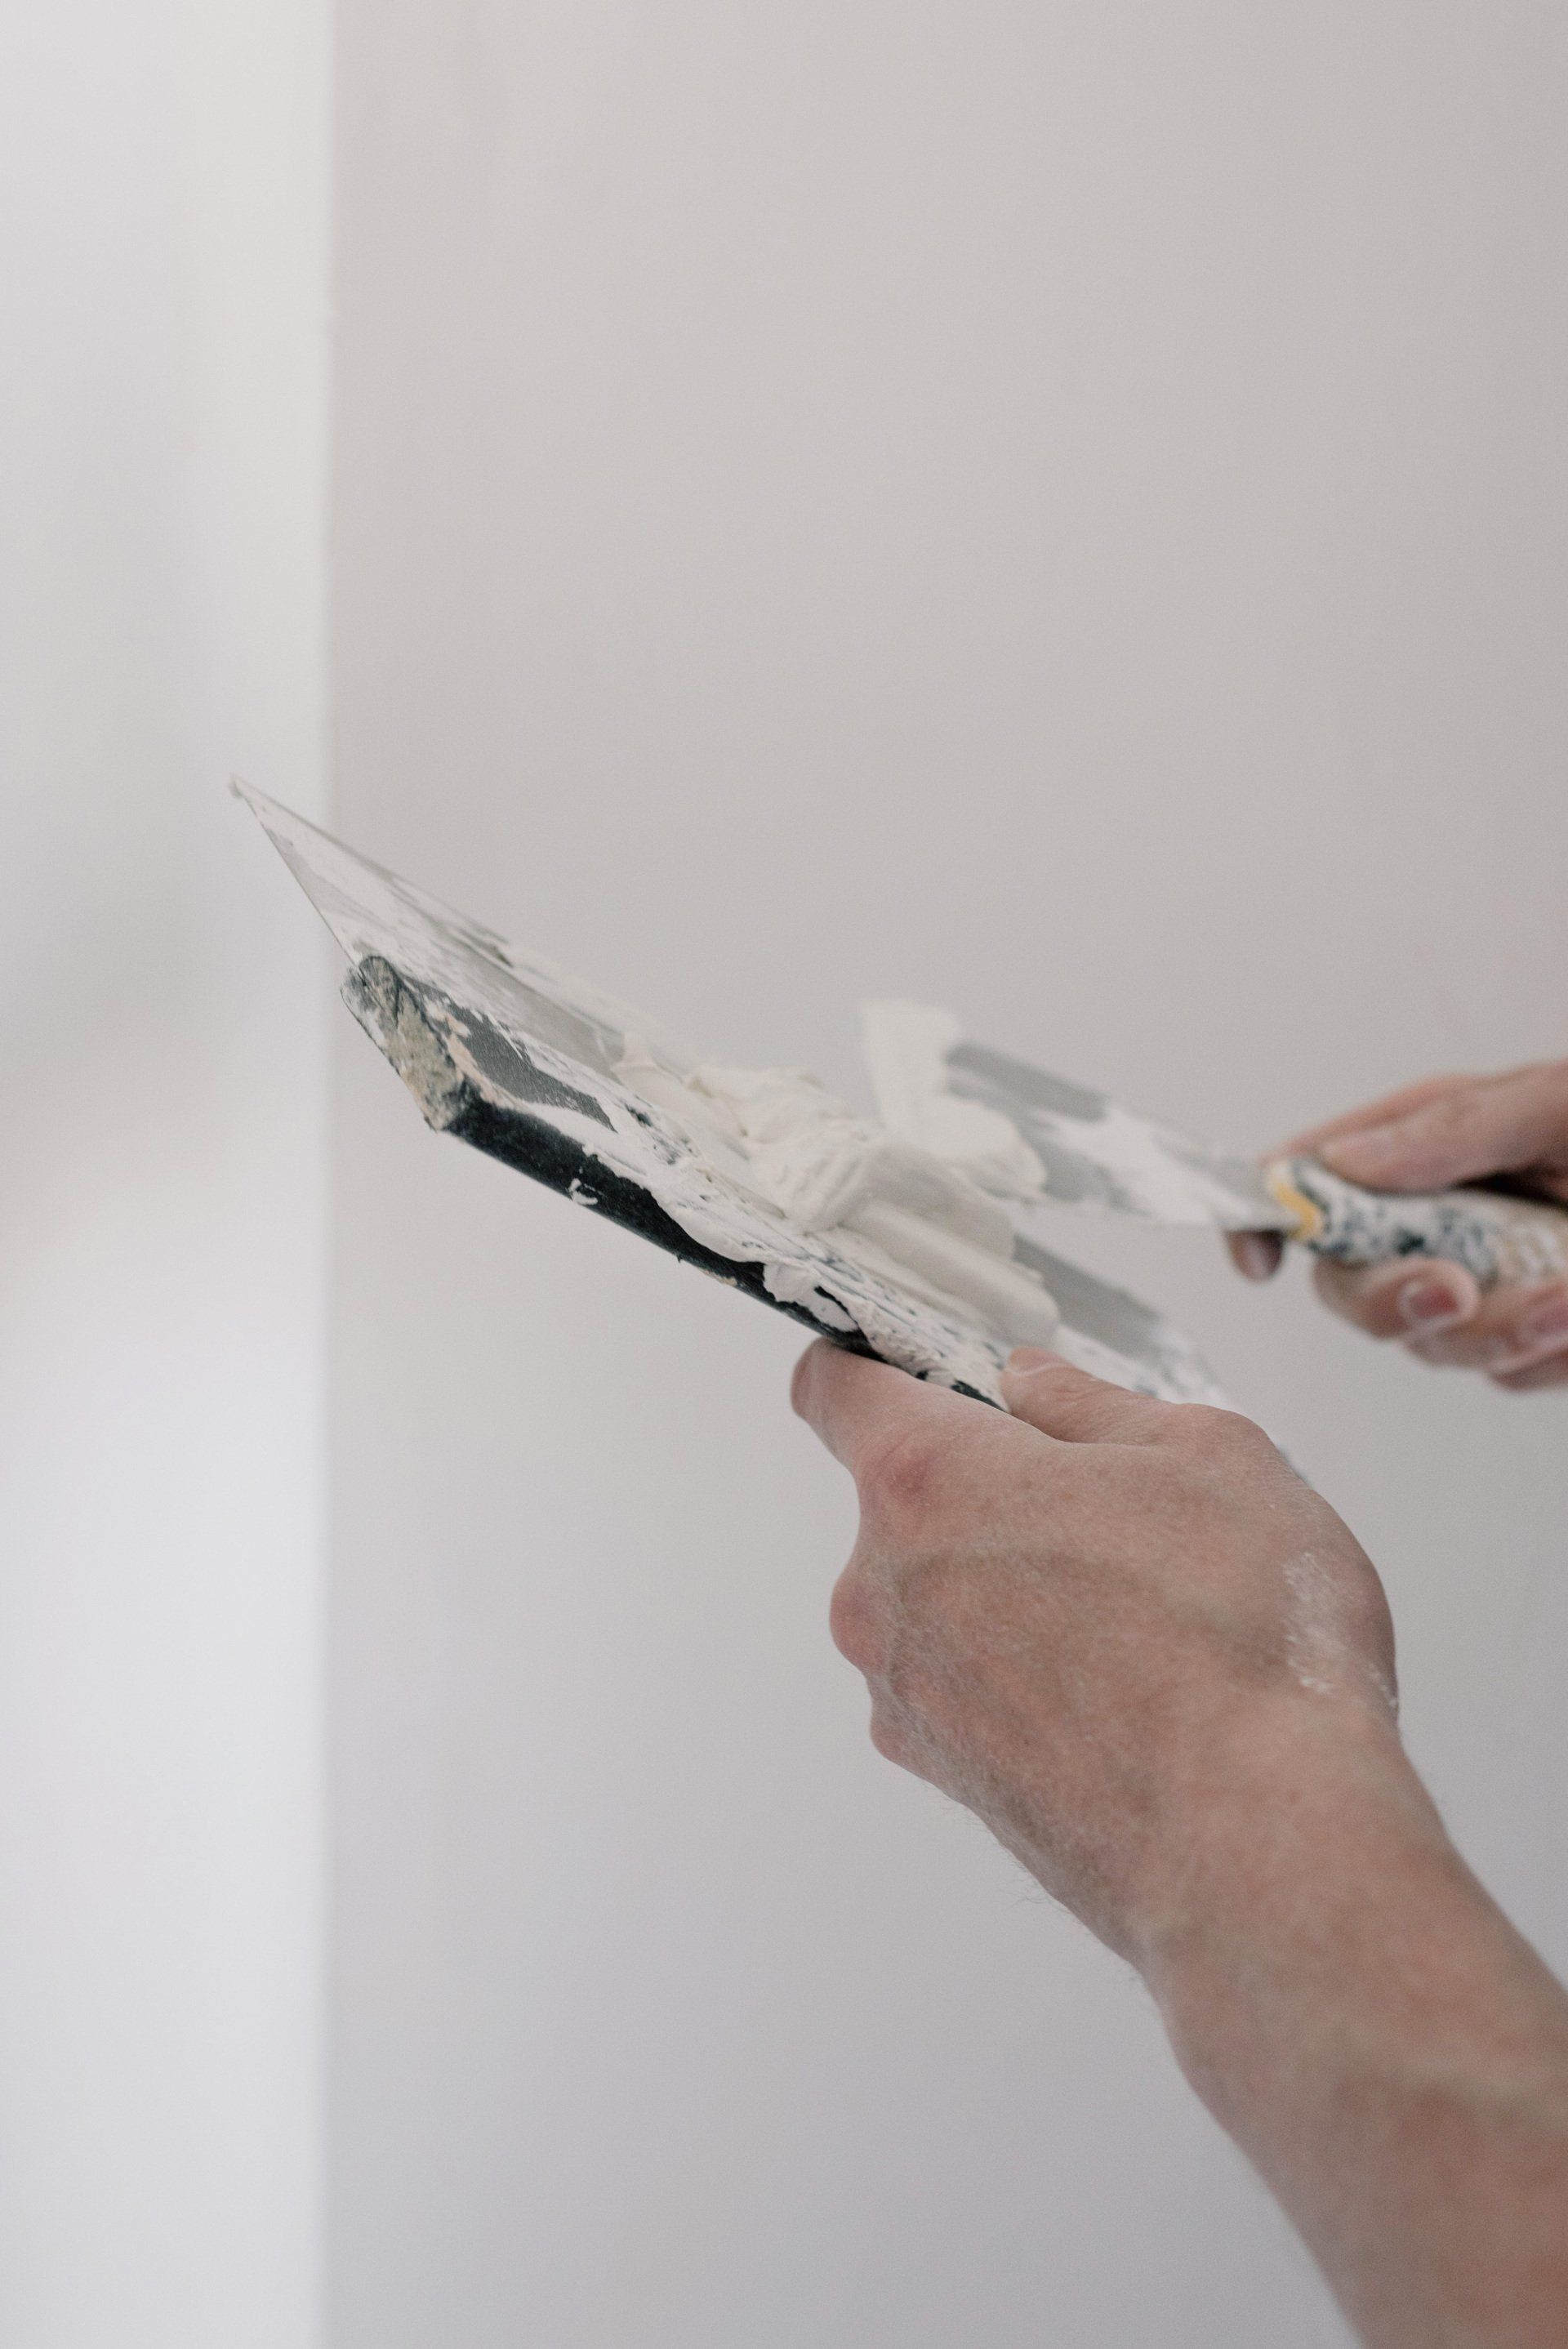
3. Applying Joint Compound
Mix the joint compound according to the manufacturer's instructions. Apply a thin layer over the seams between panels using a putty knife. Press drywall tape into the wet compound along the seams, smoothing it out to remove any air bubbles.
4. Second Coat and Feathering
After the first layer dries, apply a second, wider coat of joint compound, extending beyond the seams' edges. This technique, known as feathering, helps blend the seam into the rest of the wall.
5. Final Coat and Sanding
Apply a final, thin coat of joint compound, ensuring a smooth surface. Once dry, sand the wall lightly with fine-grit sandpaper to achieve a flawless finish. Be sure to wear a dust mask and goggles during this step to protect yourself from dust inhalation and irritation.
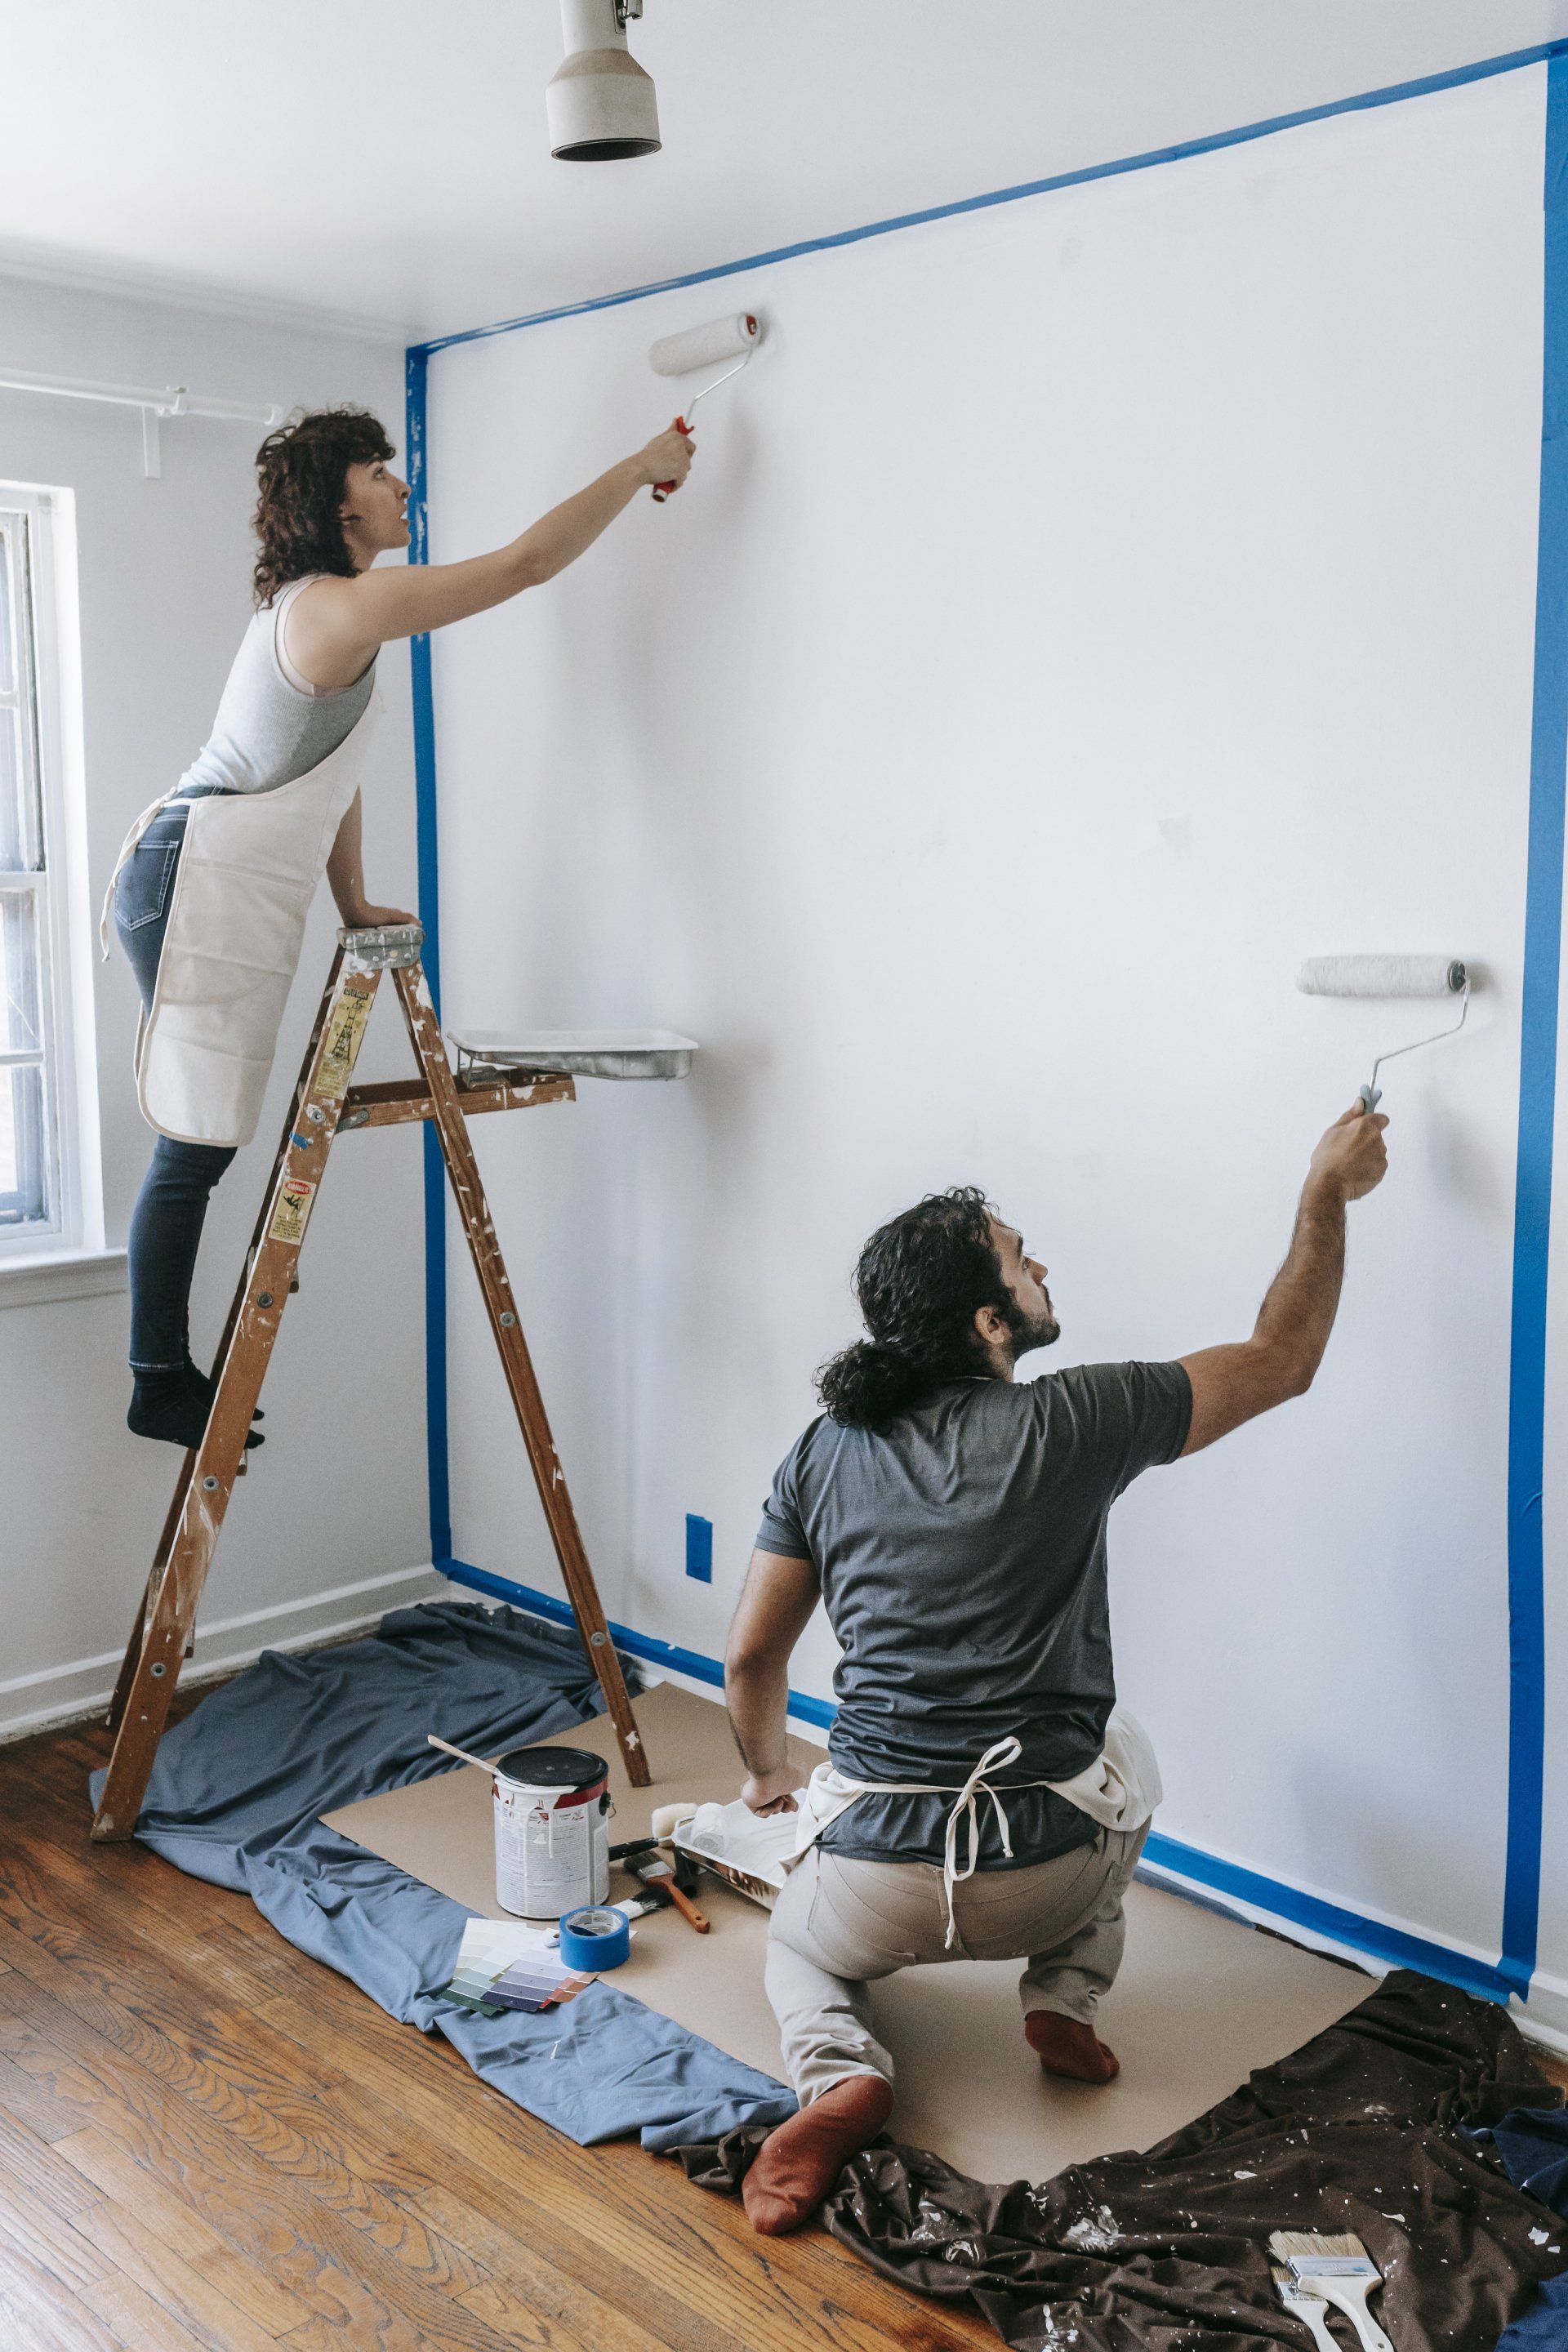
6. Priming and Painting
Before painting, apply a primer to the drywall to enhance the paint's adhesion and ensure an even finish. Once the primer is dry, you're ready to paint or wallpaper your walls, bringing your renovation project to life.
Tips for Success
Practice Makes Perfect: Consider practicing on a small, inconspicuous area before tackling larger walls.
Patience is Key: Allow ample drying time between each step, especially when applying joint compound and primer.
Smooth Movements: Use long, even strokes when applying and smoothing out the joint compound to avoid uneven textures.
Clean as You Go: Keep your tools clean between applications to prevent the compound from drying and hardening on them.
Conclusion
Drywall plastering is a skill that can transform the look and feel of your home. While it requires patience and practice, mastering this craft ensures that your walls serve as a pristine canvas for your decorative ambitions. By following this ultimate guide, beginners can confidently embark on drywall plastering projects, achieving professional-level results that stand the test of time. Remember, the key to a flawless finish lies in meticulous preparation, precise application, and the willingness to learn from each step of the process. Embark on your drywall plastering journey today and watch as your walls transform before your eyes.